My 6 year old needed new summer pyjamas, so I decided to make some with an old polo shirt of my husband's. This would work for a boy or a girl and was very easy. Here's what I did...
Grab a polo shirt. The one I used was size L, but you could probably get away with a smaller size, especially if it was for a younger child. You may need a bigger size for an older child.
You will also need a pattern for shorts and a tank top. If you don't have one, it's simple to trace one from clothes your child has already. This doesn't have to be perfect and it will still look good!
Turn the shirt inside out and lay it out flat
We'll start with the shorts first. The sleeve cuff will form the band around the leg of the shorts. The sleeve and shoulder of the shirt need to be laid out flat and smooth as shown below.
The shorts pattern piece can be placed over the sleeve and shoulder area as shown with the waist of the shorts at the collar of the shirt and the crotch at the armpit. Don't worry if the pattern doesn't fit exactly as it really doesn't matter. It also doesn't matter if you use the front or back pattern piece, we are going to cut front and back the same. Pin in place.
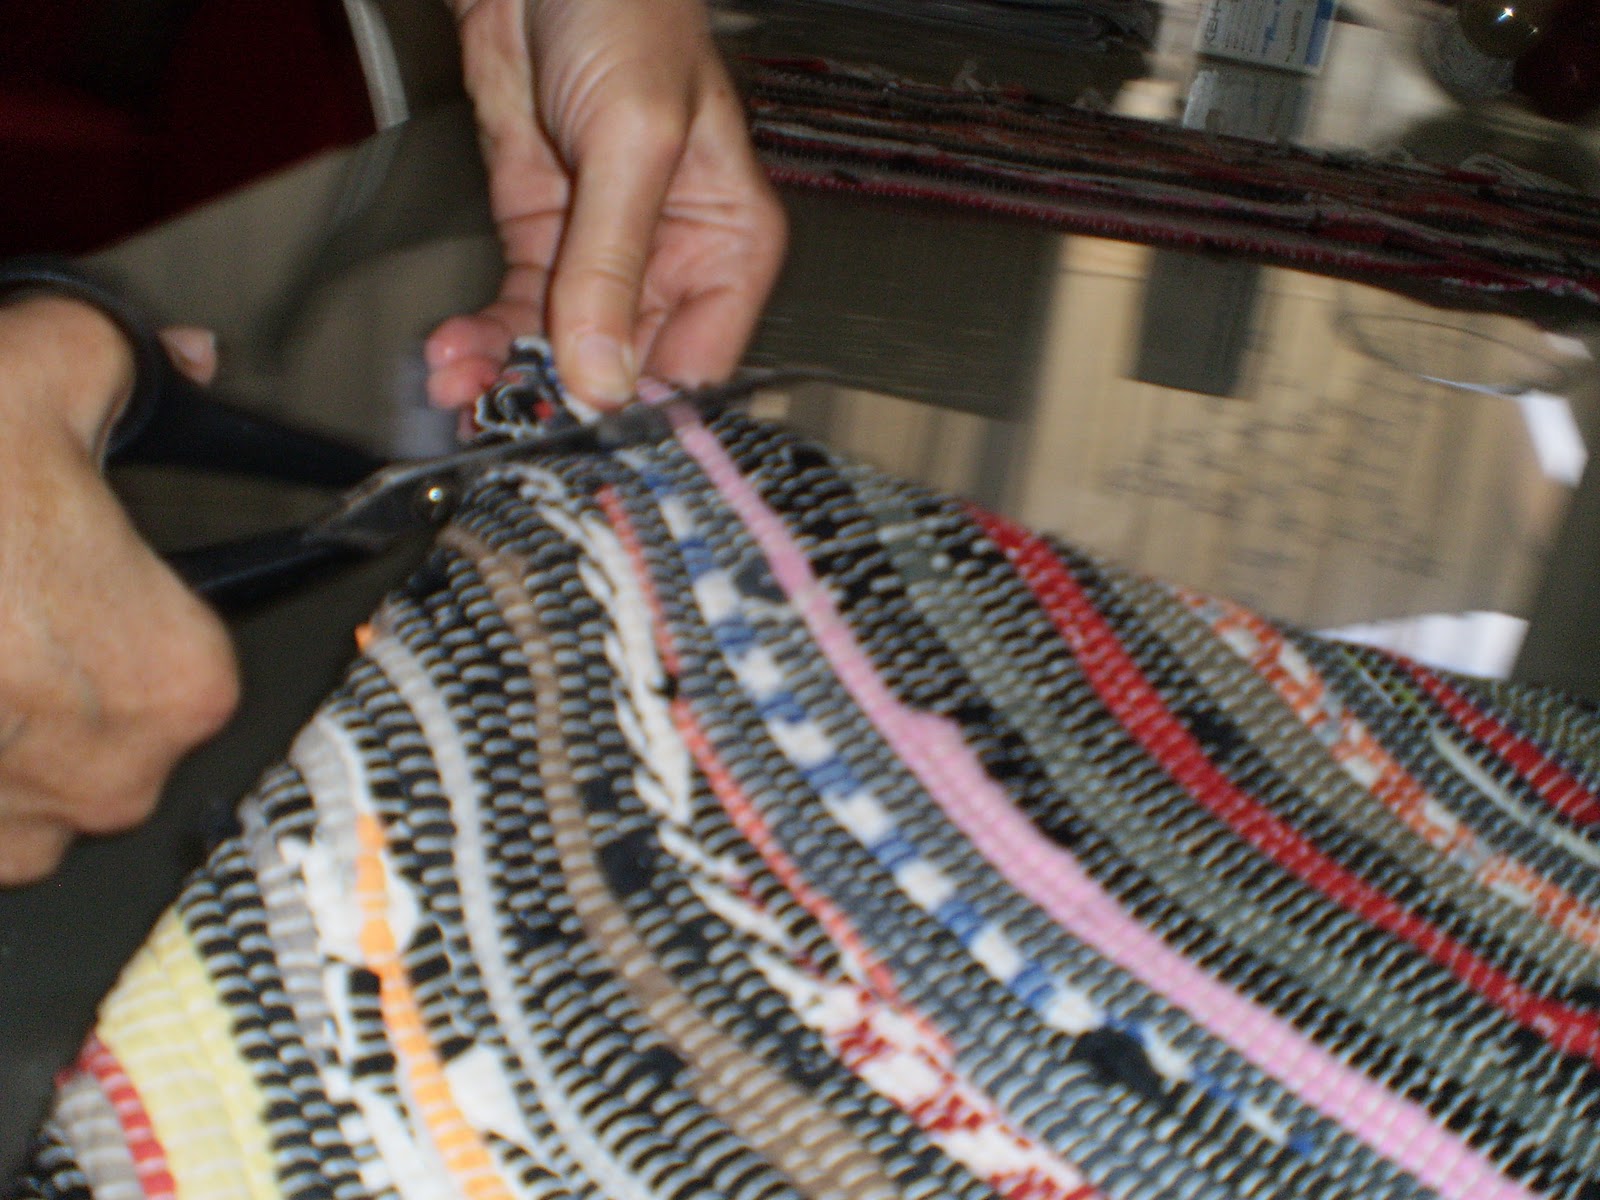
Cut from the armpit upwards to form the crotch and waist. Do not cut the shoulder seam or the sleeve at all. Repeat on the other sleeve so you end up with this:
With right sides together, pin the crotch seam from front to back. Match up existing seams from the polo shirt as shown. Sew. Topstitch the seam if you feel the urge!
Fold and sew the waistband...
...add the elastic,
and it's done. Easy! Now for the top...
Place the remainder of the polo shirt the right way up (collar at the top) and place the tank top pattern so the lower edge of the tank top is level with the finished hem of the polo. My pattern reached to the top of the available fabric (in this case the buttons of the shirt fell within the neckline of the tank, but would be cut away when I cut it out). If you are making this for a smaller child just line up the hem of the polo with the lower edge of the tank top pattern. Cut out leaving the lower hem of the polo intact.
Don't worry if your polo is shorter at the front than the back (as mine was). We'll fix this in the next step. You can measure the difference between front and back hems in preparation.
To make the front panel, take some fabric in your chosen colour or pattern (I used cotton, but stretch fabric would also work). I wanted to create a free motion sewing design on mine so I folded it over to make a sturdy base for the design. You can choose the height of the contrasting fabric (doubled if required), but make sure it is at least as wide as the measurement you took in the previous step (plus seam allowances). Cut it to the width of the tank top. You can see my white fabric cut to size and folded over in this picture.
If free motion sewing, now is the time to get creative! If not, skip to the next step. You can see another example of my free motion sewing
here.
To insert your panel, cut across the FRONT ONLY of your tank top just under the armpits. Move the lower section down so the front and back hems are level. If you are using a taller contrasting panel, work out where you need to sew to keep the hems the same.
Sew the contrasting panel to the top of the tank first, right sides together. Topstitch.
Double check your hems, then sew the bottom of the tank front to the bottom of the panel. Topstitch.
Now you have your front and back sections, you can make up the tank top as usual. Sew the sides and shoulder seams, then finish the neck and sleeve edges...
...I used fold-over elastic (FOE), which gives a lovely neat finish. Have a look
here to see how I did it (although here I just used a line of straight stitch to finish it off - make sure you stretch the elastic a bit as you sew). The lower edge is already finished as you are using the hem of the polo. So you're done!
My little darling wore them the first day he had them and this is what I found when I went to check on him that evening...
Here he is the next day scootering around the kitchen!
Awwww
I'd love to see pictures if you make these. Post them on my
Facebook wall and leave a comment!
These would work well for a girl also. I would love to see a pretty floral fabric panel in the front of a pastel or bright shirt. You could make the top as a t-shirt with sleeves made from the contrasting fabric. Go wild!

Shared with:


 and some of the lovely link parties listed at the bottom of this blog.