Showing posts with label Japanese Patterns. Show all posts

Saturday 28 November 2015

Basic Black Japanese Pattern book - Dress U

This is the dress on the cover of 'Basic Black' by Sato Watanabe and is the reason I bought this book. I had hoped to make the dress with my Japanese, indigo-dyed linen, but unfortunately didn't have enough for this pattern. The linen went back on the shelf, but I discovered this black cotton in my stash that I had bought at a sale by local designer 'Breathless' for about $15. For black cotton, it's quite pretty with a pattern in the weave. I had plenty of it, so the decision was made.

Basic Black
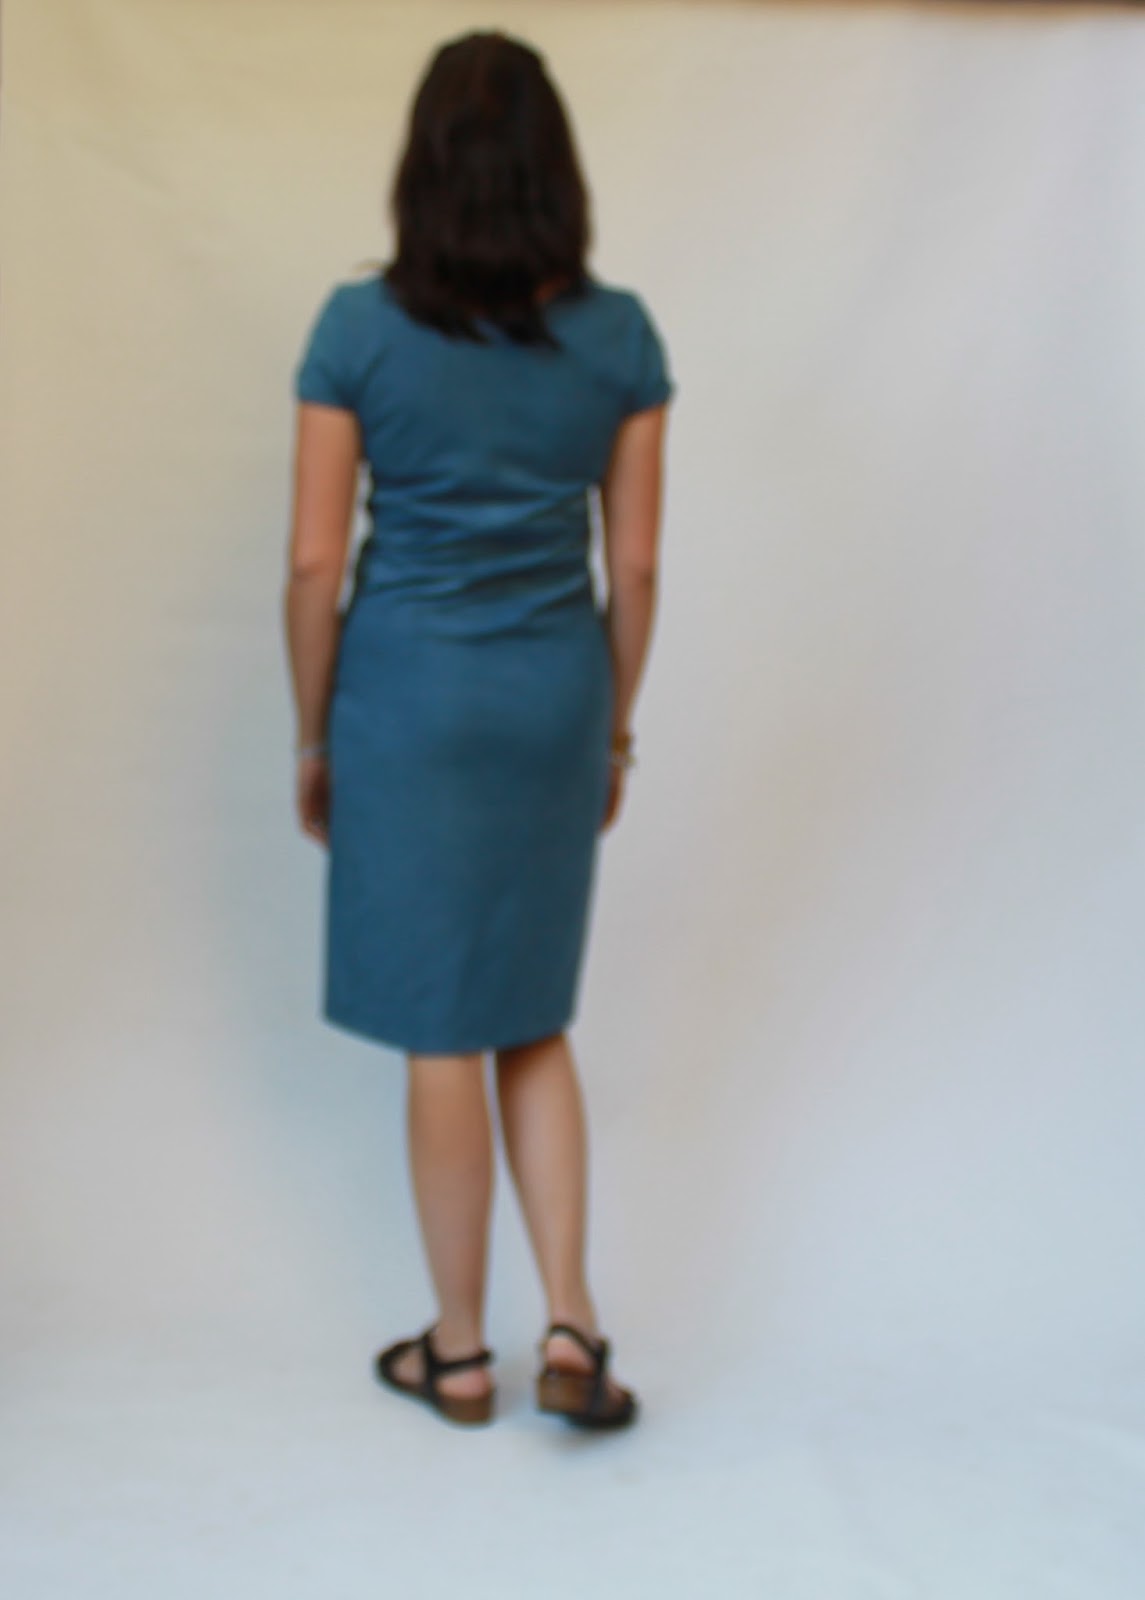
The pattern is 'U - the Asymmetric Jumper Dress'. The neckline, waistline, front pleat and side seams are asymmetrical, with the most obvious design feature being the extension at the side of the skirt. This just folds itself over and drapes at the side. I like it, but my sister advises that I need to secure it down to prevent unsightly flapping. So far I have rebelled and allowed it to catch the breeze at will. This is partly because I sewed it into a pocket, rather than just sewing across the top as per the instructions. The pocket wouldn't fit my phone anymore if I tacked it down, so for now it's staying.


The asymmetrical neckline was another design feature that my sister wasn't keen on. She always gives an honest and thorough evaluation, my sister. In this case I may be inclined to agree. I wonder whether it looks like squiffy sewing. It would be simple to lower one side and even it up and I may do this in the near, or possibly not so near, future.

I used a black and brown patterned fabric for the facing, which peeks out and adds a bit of interest to the black. It's not easy to see in these pictures.


I fussed about with the sizing of this pattern, which is most unlike me. According to my measurements I should have been a medium and I made a toile of the bodice to check the fit (only because I had originally planned to use my special linen). The toile was actually quite ill-fitting and I fiddled and added bits for ages before I was happy. In retrospect, I should just have cut a large and added a bit to the length and it would have probably been fine. In short, I would recommend going one size up for this pattern.


I also got into a muddle with the pattern pieces. Because they are asymmetrical they need to be cut on a single layer. Despite being super careful, some pieces were cut the wrong way up and I had to use the wrong side of the fabric to get all the pieces to fit together. Gasp! Luckily this hardly showed in the black.


The details of the skirt and the fabric can be seen better in this picture.


I love this dress. The length, which is way longer than anything else I have, feels elegant. The simple, quirky design is fun and the cotton is lovely to wear. Despite my silly mistakes, this was not a difficult pattern to sew, although I mostly did my own thing, rather than following the instructions. I would recommend the book too. There are definitely a few other patterns in this book that I have my eye on.


Monday 26 October 2015

Indigo dyed twisted dress (Burdastyle 06/2014#102)


I loved the Japanese-influenced patterns from the June 2014 issue of Burdastyle and have finally got round to making something from the collection. This is the 'twisted cap-sleeve dress', so called because the side seams and sleeves are asymmetrical, causing both to twist. As the wearer puts on the dress, the lower half needs to be twisted, moving the side seams to the sides and producing subtle wrinkles across the torso.

Burdastyle 06/2014#102 - I wish I looked like this in my dress!
In order for the dress to stay in its twisted state, it is quite tight. This is all very well on the beanpole model, but when I look in the mirror all I see is tummy and VPL. As much as I admire the twisty design, I think I may need to perform some surgery on this dress to make it looser and more flattering on me.

Truffle is unimpressed.
The dress is made from medium-weight, stable, knit fabric found at Remida. It was originally an oatmeal marle colour, which I decided to dye in an attempt to recreate the subtle striped look of the Burdastyle dress.

Blurry back view
I used natural plant indigo dye from a kit I bought online from Dharma Trading. This contains everything you need for small-scale indigo dyeing. I used half the kit, which was plenty for some experimenting.
Indigo kit from Dharma Trading

Here is the dress on the mannequin before dyeing.


I folded some of the front of the dress into fairly even pleats and hand stitched them loosely in place so the dye would penetrate most of the fabric and produce subtle stripes.


Then into the dye it went. Elbow-length gloves for me!


Here's how the pattern looked when it came out of the dye.


When it dried it was lighter and the neckline had some dark splotches, but that's all part of the unpredictability and fun of natural dyeing.


All in all, I'm really happy with this project. Although the dress is too tight on me, I loved playing with the dye and the indigo colour is beautiful. I'm pleased with the stripy effect and I definitely think the dress is worth adjusting for a more flattering fit.

Monday 20 April 2015

A technicolour blouse - She Has a Mannish Style


Voluminous and multicoloured, perfect for hiding the effects of too many cakes, both outside and inside!

This is the 'Gathered Blouse' from the Japanese pattern book 'She has a Mannish Style' (also known as 'She Wears the Pants' if you buy the English version).


I was immediately drawn to this blouse, I think in part because the model looked so gorgeous in those leggings and high boots! Ignoring the fact that I would never wear leggings without extensive bum coverage and I can't walk for more than two minutes in high heels, I decided to go ahead with the blouse. That I would wear, although with what, I had no idea.


I'd been having a bit of a sewing room sort-out and had piled some scraps from a recent remnant bag purchase from Potter's Textiles on my cutting-out table. I wandered in and was absently patting the pile when it struck me that I could make a patchwork version of the 'gathered blouse'. The scraps were already fairly well colour matched, as the Potter's remnant bags tend to be, and mostly big enough for the blouse pieces. I added in the orange polka dot cotton from my Wenona Shirt dress and undyed beige cotton from my Wenona shirt and I was ready to go.


When I say 'ready to go' I actually mean 'ready to trace the pattern sheet from hell'. Seriously, I think it might have been worse than Burdastyle! Had it been in English, rather than Japanese, this may have helped, but only slightly. Anyway, I got there in the end and worked out a few tricks that helped with the tracing.


Here's what I worked out, just in case you have this book and are yet to begin tracing:


- to find the pattern you want, look for the pattern number in large text around the edge of the sheet, or, less often, in the middle. The number is written in English, then Japanese and a line is drawn from the English or Japanese label to the pattern piece;

- all pattern pieces for one garment are on one sheet, just keep looking! However, occasionally a piece is not on the sheet and needs to be drawn eg. if a simple rectangle. You can see the pattern pieces on the layout diagrams on the instruction pages;

- the smaller text refers to the grainlines for each piece;

- the half circle symbol seems to indicate to cut the piece on the fold;

- you need to add seam allowances (SA). The diagrams on the instruction pages indicate what size SA to add. It seems to be 1cm unless otherwise indicated.


So, back to the patchworking. All the pattern pieces fitted on to my scraps except one front and the back piece. No problem, I just joined two fabrics together until I had a big enough piece of fabric. The choice of which fabric to put where wasn't completely random. I used the orange polka dot for the add-ons and the left sleeve. It seemed better that way than swapping the sleeves. I cut the back yoke in half to achieve a chevron effect with the print. Obviously I had too much to think about as that was a total fail.


I used grey on the shoulders and one button placket and pink stripes on the other placket. After playing around with the pockets, I decided on one only in polka dot. The sleeve cuffs match the front and back pattern.


I am pretty happy with the overall look of the fabric placement and I love the style of the blouse. I did add 5cm to the length, as I am 5'9, and this seems about right.


I wore this for the first time on a cool and windy day for an outing to a skateboarding competition (yes, I was just watching). The blouse did tend to billow, parachute-like in the wind and I was pleased I'd worn a camisole underneath.


For the construction, the instructions in the book were ok, well I mean the diagrams were ok, since I can't read Japanese. It helped a lot that I have made shirts before, especially as the instructions seemed to peter out before getting to the really tricky parts. I think they picked up again for another shirt in the book, but not being sure, I just used instructions for another shirt pattern I had.


The blouse was worn on this day with my latest Jamie jeans and boots to suit the weather. I feel the need to play around a bit with other options to get a better overall outfit. Otherwise, I'm really happy with my Mannish Style.


LinkWithin

Related Posts Plugin for WordPress, Blogger...