Showing posts with label Colette Patterns. Show all posts

Thursday 29 September 2016

PR Sewing Bee Round 3 Challenge - The Colette Rue Dress


I made it to the third round of the PR Sewing Bee! My second round entry is here. The competition is hotting up now and this challenge was a lot harder than the first two. We were to make a Colette Rue dress, but put our own 'spin' on it. This may not sound too bad, but my feeling is that the 'spin' needs to be pretty amazing to make the cut in this round, not to mention the perfect sewing required.

Colette Rue Dress
The Rue Dress is a vintage-inspired design with a fitted bodice and two skirt options. While I love this 40s style on some people, it is not my thing at all. To make this wearable and fitting with my style it needed to be modernised and made into a more flattering shape for my body type. I didn't want to change the pattern too much though. It still needed to retain the essence of the Rue. I thought long and hard about what to do and eventually came up with this design.


I used View B of the pattern with the slimmer skirt. The bodice was redrafted to move the curved pieces away from the centre and towards the sides. The curves were redrawn and the new style lines continued down into the skirt and made into pockets. The sleeves were omitted as we are heading into summer. In addition to the design changes, I needed to make numerous fitting alterations, mainly to the bodice. I wanted the curved pieces below the bust, rather than on it, so that required some fiddling with the two curved pattern pieces and the bust pleats - not easy. I also needed to lengthen the bodice and lower the armholes (complete list of changes available here)

Here are the alterations I made to the two front bodice pieces. This alone took many muslins!


I chose this floral stretch denim fabric bought ages ago from Potter Textiles. The dress is lined with a cream floral cotton voile and the piping is made from polka dot fabric from the shorts I made in Round 1 of the Sewing Bee.


I was as precise and careful as possible with matching the piping at all the seam lines and the neckline. As for the invisible zip, let me just take a bow. I think it's the best I've ever done!


This process was difficult and stressful and took many hours. I often had a houseful of hungry teenage boys and my time limit was reduced by three days as I'm attending a felting course this week. A couple of muslins in, I did contemplate not completing this challenge. I emailed my sister who said that if she'd been doing it, the dress would have been a ball on the floor by now. That suddenly made me realise how long it's been since I hurled a sewing project at the wall (a fairly common occurrence in the early days). My gosh, maybe I have actually come quite a long way, if only in controlling my sewing hissyfits. I was spurred on to finish. Thanks sis!


I am really happy with the finished dress. It is a bit of a departure from my usual style, but still feels like me. My favourite thing is the pockets and how they blend into the new style lines. I am also very proud of the sewing I did here. Fingers crossed I make it to the final round of the competition.

Friday 16 January 2015

StyleArc Amber blouse and Colette Iris shorts


I do like raglan sleeve tops, so was keen to try the Amber blouse pattern bought recently from StyleArc. This top has all sorts of possibilities for colour blocking which usually has me pulling fabrics from nooks and crannies all aver my sewing room and ending up drowning in the pile with no idea what combination to use.

StyleArc Amber Blouse

This time I emerged from the fabric pile clutching this Japanese cotton print (a $10 remnant from Fabulous Fabrics) along with some brown knit fabric scraps that were quite a good match. The 80cm remnant piece was easily enough for the main fabric of the top. I decided to use white for the piping detail around the neckline and down the front panel. Rather than using real piping, I used 3cm wide strips of knit fabric folded in half with the raw edges matching the raw edge of the pattern piece. Once the 1cm wide seam allowance is folded under, 5mm of  faux piping is visible. This method is super simple and reduces the bulk that normal piping would produce.


I am kicking myself for not grading the seam allowances at the edges of the front and neckline panels. They are too thick making them very obvious. Bummer. I thought of it by the time I sewed the back neckline panel, which is covered by my hair. So annoyed!


The front and neckline panels are interfaced and sewn on top of the main front pattern piece, so it would be easy to omit them and make a plain top for a change. When the panels are included, the instructions have you sew the neckline edge with front and neckline piece right sides together to give a nice, clean finish to the neckline. The issue then is finishing the neckline edge of the sleeves. The pattern includes a little bias piece to do this, but I wasn't completely happy with the result. I wonder if a neater finish would be achieved using bias binding all the way around the neckline. Not sure. 


I am very happy with this top and will certainly be making more if I can only come up with another pleasing fabric combination.


Since the colours in the top are not commonly found in my wardrobe, I realised that some new shorts would be required. I fancied white, but couldn't find exactly what I wanted in my stash. Having two boys home on school holidays has vastly restricted my access to fabric shops, much as I've tried to convince them of the virtues of such establishments. So, I pulled out a scrap of linen-look fabric from Remida. I only had a long strip so pieced the fabric together to have enough to cut the pattern pieces. I quite like the resulting seamlines across the back.


I've made the Iris shorts a couple of times before so they went together quickly. The fabric was very unstable and kept pulling completely out of shape, but I got there in the end.


 The grey doesn't exactly match the top, but I think it's close enough to look OK. I love both these items. Now I just have to clear up that pile of fabric...

Thursday 20 March 2014

Palm fronds and Laurel


A summery day always feels better in a summery dress and what better than one printed with palm fronds to lighten the spirit?

Colette pattern information
This is my second version of the Colette Laurel dress and I'm every bit as happy with the pattern as I was the first time I made it.


The fabric is a border-print, polyester remnant from Textile Traders that cost me $2. I've had it for quite a while and have held it up while peering in the mirror countless times trying to decide what to make. I know, big decision after such a financial outlay, but surely any piece of fabric should be treated with respect and consideration!


I couldn't be happier with the choice to make a Laurel. It's simple so the fabric can shine, but the cut looks stylish and classic.


 I made a few changes to the pattern: the neckline was lowered quite a bit; the bust darts were also lowered, but perhaps need to go lower still (or else I need to hoist up my bra straps); the side seams were taken in tapering from the waist to approximately 4cm in at the hem; the length was increased by about 5cm and finished with a very narrow hem (and it's still short!); and flutter sleeves were added.


The sleeves were a bit of an afterthought. I made them very simply using the scrap of fabric left over from cutting the neckline of the back dress piece. The back pattern piece had been placed against the edge of the fabric before cutting leaving a semi-circular scrap. I cut three more identical pieces, sewed each pair together along the curved edge and attached them to the arm holes (no gathers). The entire arm hole edge was then finished with bias binding and top stitched to match the neckline. I think it balances the dress quite nicely. I also like the hemline of the dress, which is slightly curved and lower at the back (this is unchanged from the original pattern).


 I didn't have much fabric to work with but, learning from past mistakes, I tried to place the front and back so the print was in a flattering place.


I think it worked out pretty well.


I wore this last weekend when we walked by the Swan River near Perth City. You can see the progress of Elizabeth Quay in the background to the right of me. This huge development is underway to dig out a large area of land, flood the area with water and make an upmarket cafe, restaurant, hotel and ferry district on the waterfront. Watch out Sydney Harbour!!


 Let's hope autumn stays lovely and sunny so I can wear this a few more times.

Tuesday 25 February 2014

Colette Laurel


As previously mentioned, I recently won three Colette patterns - yay! I've already made the Iris shorts and now, the Laurel dress.


This pattern is just my cup of tea: cute; comfortable; flattering; and versatile. It's also easy to sew.


 I made some minor alterations, which were to lower the neckline, open up the lower armhole, omit the zip and lengthen the dress with a hem band and piping to match the bias binding on the neckline and armholes.


Next time I make this I will also lower the bust darts.


The fabric looks like denim, but is actually a medium-weight upholstery fabric. It doesn't crease, which is great, but you can see that the lower edge of the hem band is stubbornly not holding its crisp fold.


I made white bias binding and folded it evenly over the front and back of the neckline and armholes to give a bit of contrast.


The 'piping' is the same bias binding just folded lengthwise and stitched in place with the hem band.


I tried to convince my BFF that she also needed a Laurel, but she prefers her bikini. However, she did put some laurel leaves in her hair as a show of support.


I love this pattern and I plan to make it in many incarnations.

These photos are taken in the historic (for Australia) port town of Fremantle, Western Australia and feature a convict jail, the Roundhouse, in the background of the second picture.

Friday 14 February 2014

Beyonce shorts and Penis shorts - Colette Iris


I was recently the lucky winner of three Colette patterns from Sewing Patterns Review's '12 days of Giving Thanks'. This was a lovely idea where we got to thank fellow pattern reviewers for things we had found helpful. The winners were chosen at random. This was my comment: 'I am in awe of JNE4SL who selflessly took a huge number of beautiful, clear photos that cleared up all the confusion I had making my Jamie jeans. She is a star!' If you would like to see these photos, they can be found here.

For my prize I chose Colette's Iris shorts, the Laurel dress and the Negroni shirt. I have already made Iris and Laurel (and love both) and hope to make Mr M. a Negroni shirt sometime soon.

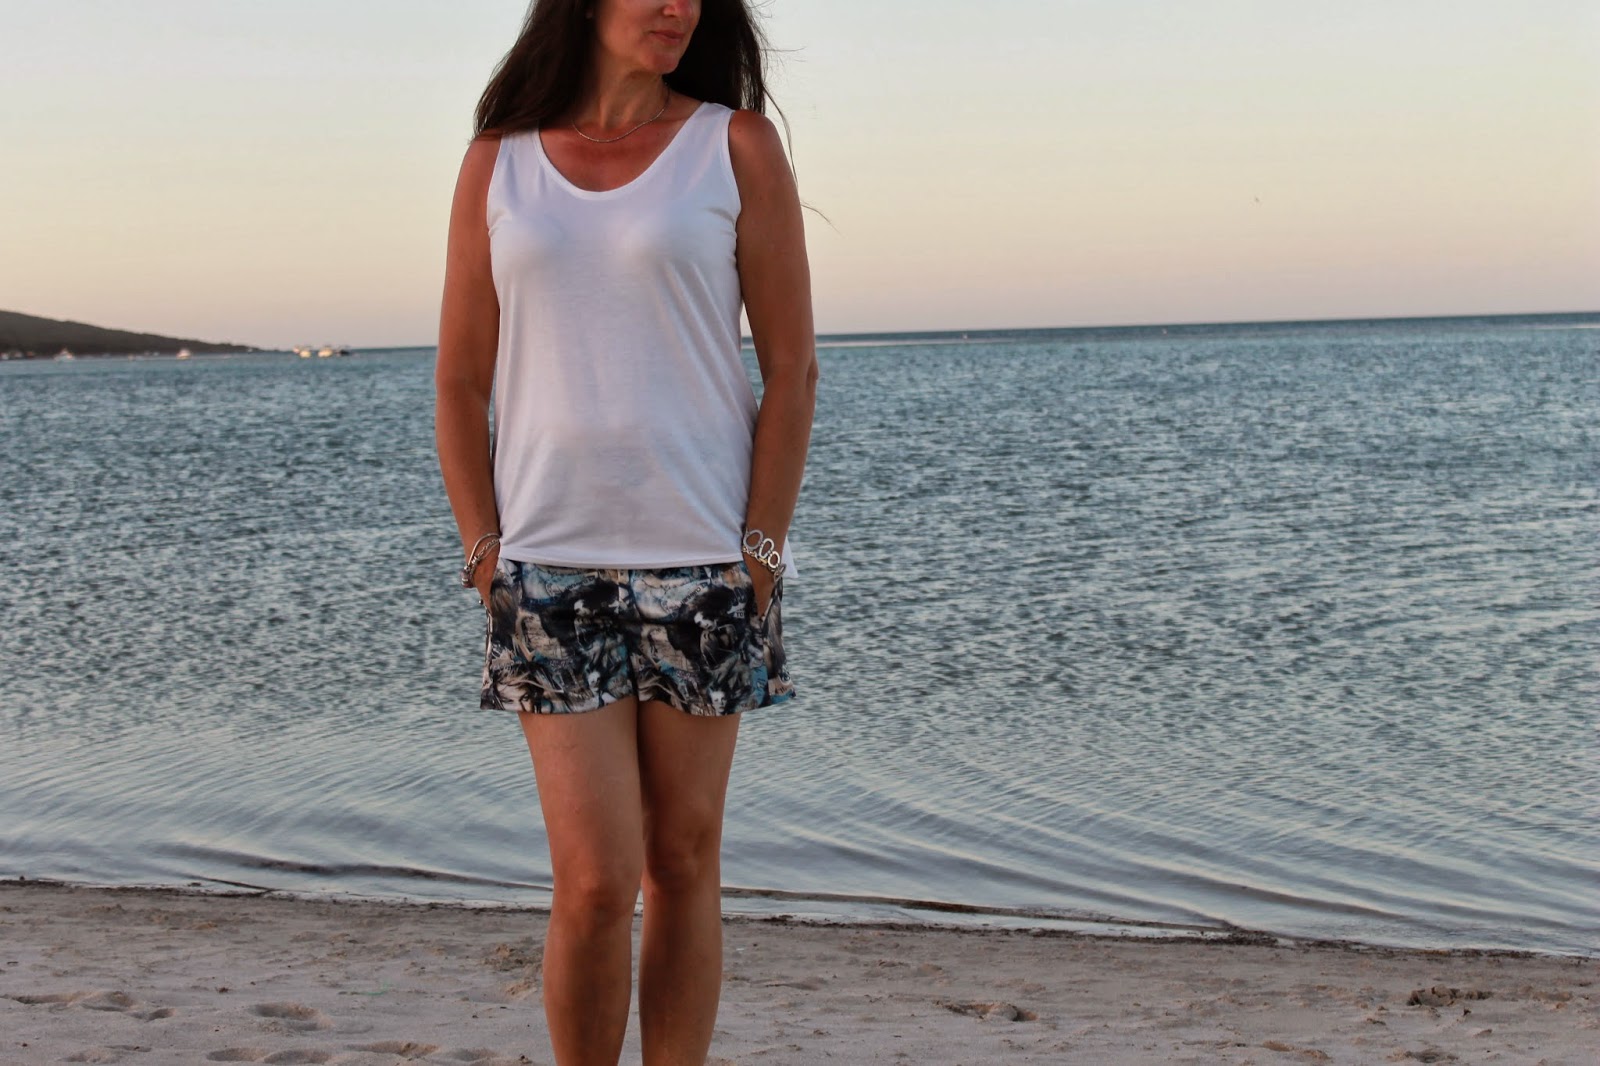
So, the Iris shorts. I made three pairs, but the first was a muslin that did need some adjustments. My wearable pairs are the Beyonce shorts (above left) - see Beyonce, with arms raised, twice at the centre front (at least I think it's her) - and the penis shorts (above right), named due to a rather unfortunate pattern placement. I wear both often and with pride!


The alterations required were to grade the pattern out at the waist and increase the size of the waistband. I also took in a small wedge from the lower inside leg seam down to the hem, made the pocket opening wider and cut the pockets slightly larger.


I love this Beyonce fabric. I found it at Textile Traders before Christmas for around $10/m and it sold out very quickly. It is a stretch woven with a satiny finish. I like to think I am hip and young in these shorts.


 The top is self drafted.


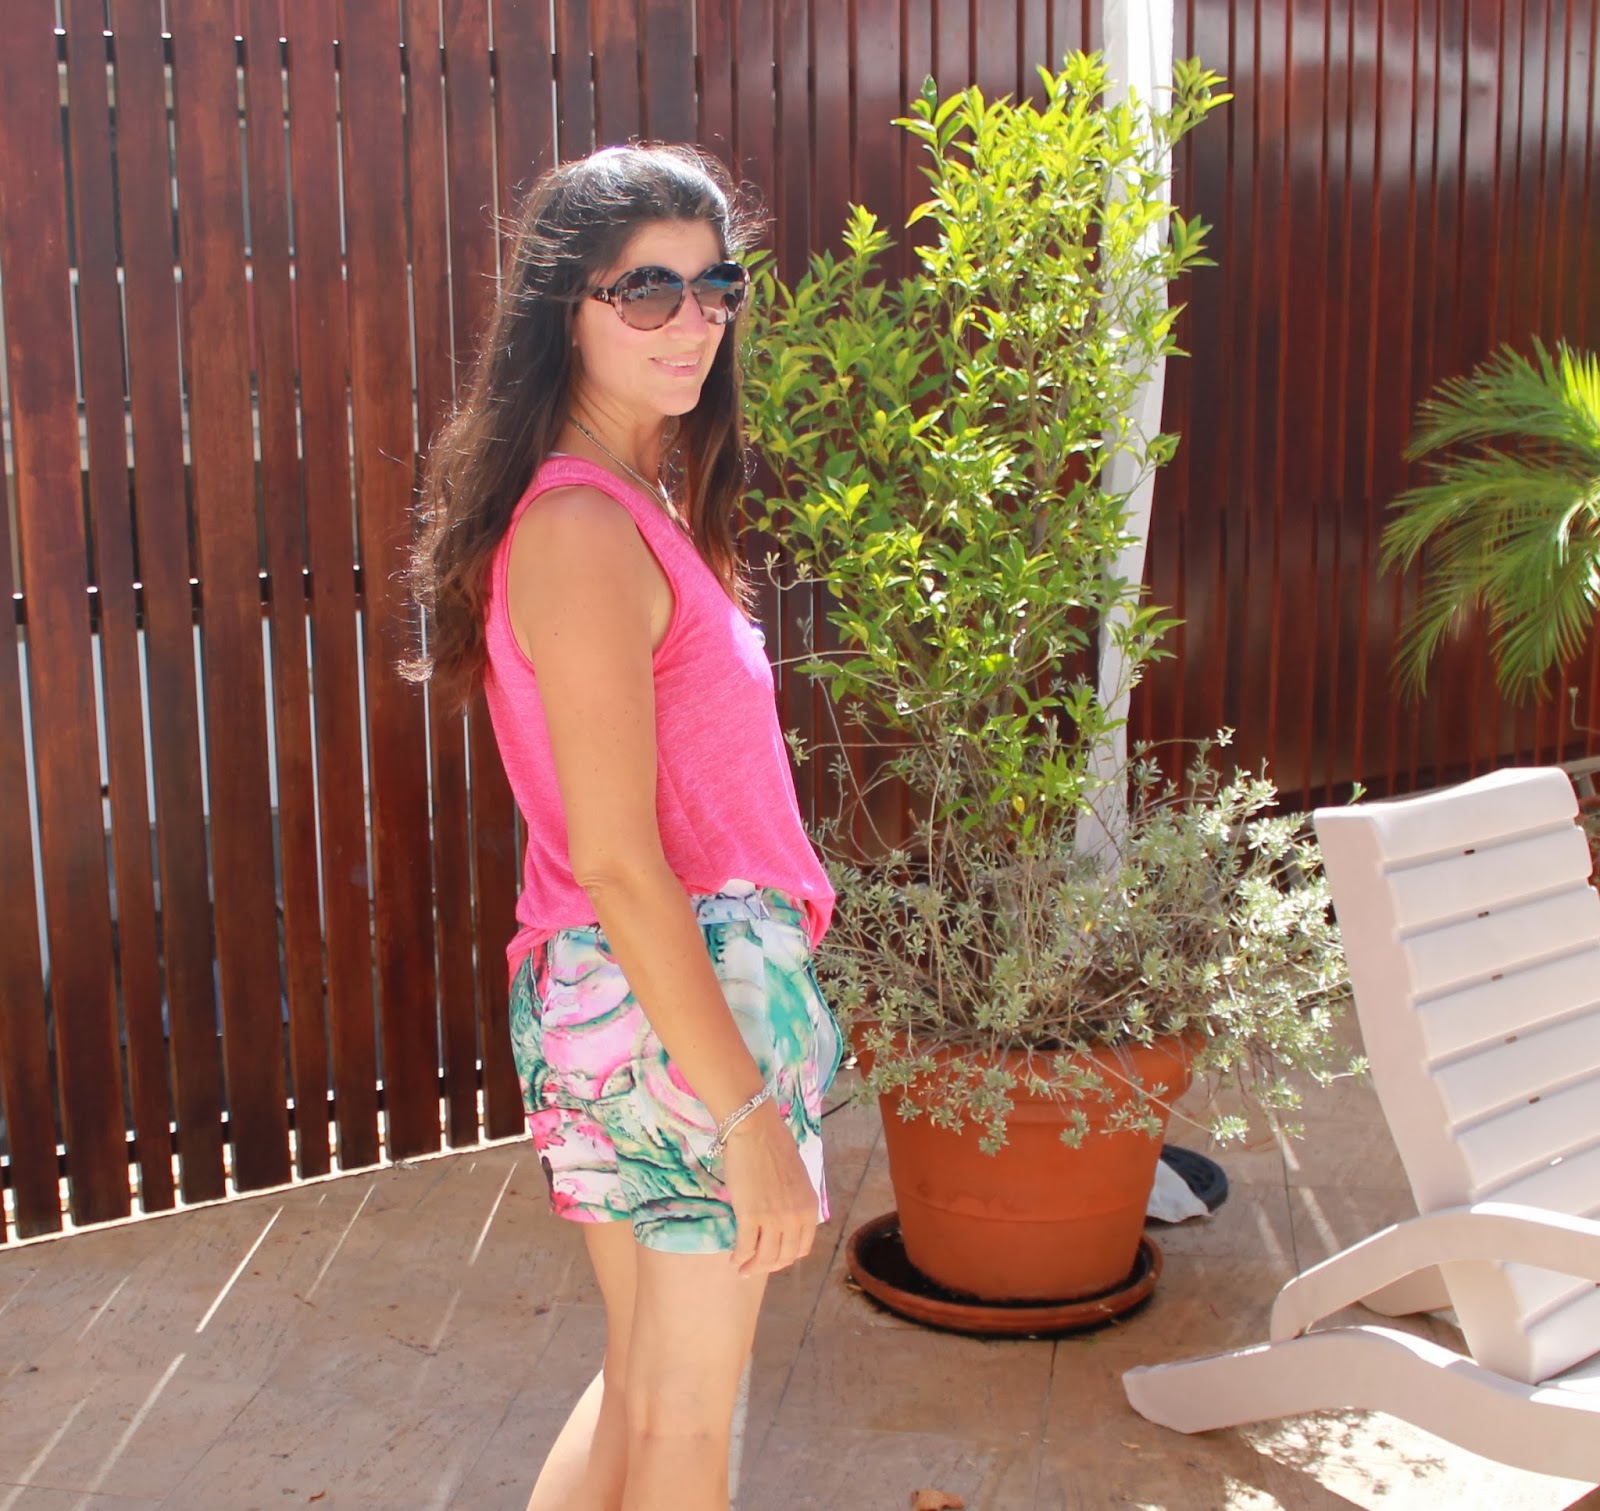
 The penis shorts are made from this lovely swirly stretch woven fabric from Fabulous Fabrics. It was $16.50/m but I got these out of only half a metre as it was quite wide. Obvs if you have a large print, learn from my mistake and take care with the pattern placement.


In all my masculine glory.


You can just see the white pocket lining in this photo. In the future I will make the pocket linings dark, as in the Beyonce pair or coloured to match the fabric. The white is ok but I think it would look much better in pink or dark green. Just a thought if you are pondering lining colours! My pink top is self-drafted and uses the same pattern as the white one above.

I am so pleased with both of these pairs of shorts and reach for them in preference to all my shop-bought pairs. I'm so happy to have a good shorts pattern. It's very straightforward to sew and I'm sure I'll make it many more times.

Thanks Pattern Review and Colette Patterns.
 

LinkWithin

Related Posts Plugin for WordPress, Blogger...