Showing posts with label sewalong. Show all posts

Thursday 6 November 2014

Triple denim and a Bee - Vogue 1247 skirt and Bellini blouse


Lots to talk about today and lots of pictures. It all started with the Surprise Sewing Bee contest on Pattern Review. This is a fun competition based on the 'Great British Sewing Bee' series shown on the BBC. Each week, for four weeks, the Pattern Review website will announce the garment to be made for that week. The entries will be judged and eliminated from the competition, presumably if they don't follow the specifications of the particular garment.

For week 1 of the competition, contestants were required to make an A-line skirt with a zip, lining, button or hook closure, waistband and hem.


I decided to go with Vogue 1247. I used this cotton fabric, made of pieced strips with lace detail, that I bought in Bali years ago. I decided not to include the skirt pockets to keep the stripes neat and to make sure I was adhering to the competition rules.

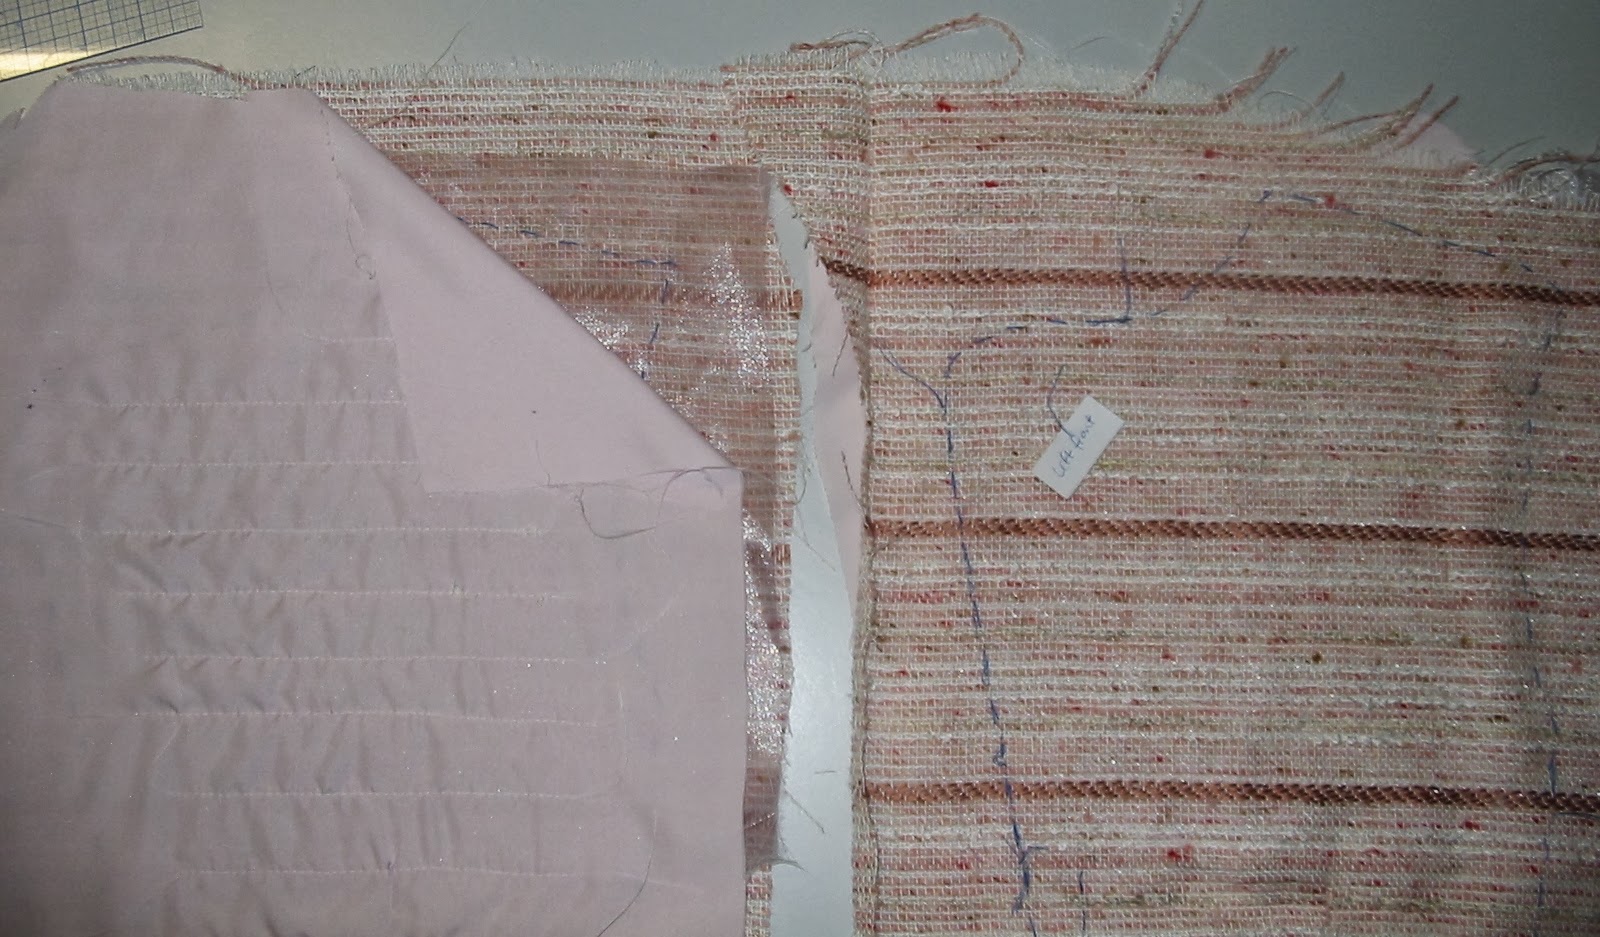
I was really careful making this to keep everything neat. I cut the back first, then lined up the front to match the stripes. I pinned the upper and lower pattern pieces together and cut as one piece (below).


I even went to the bother of binding all the raw inside edges!


I lined it too!


Here are the pictures of the finished skirt:


I matched all the stripes as best I could, but the way the fabric was made meant that it wasn't possible to get this completely neat. The lace had been sewn on a bit wonky by the manufacturer (I unpicked and redid part of it) and the check pattern was not even. Still, I am really pleased with the way it turned out. 


Sheer, cotton lining with folded darts.


Now it just so happened that I had found this washed out chambray, denimy fabric at Remida recently that just so happened to match the skirt fabric rather well! I immediately thought of the Bellini blouse pattern by Capital Chic that I won in the Refashion Contest by Sew Amy Sew (thank you Amy and Sally). I decided that my stripy skirt would not be complete without the Bellini. In fact, I became obsessed with the thought and cancelled all engagements (except my Melbourne Cup lunch) so I could make both this week.


The Bellini has two collar options. I went with the scalloped one to fancy up my plain fabric.


The Bellini was a joy to make. I followed Sally's sewalong, which I expected to be just for beginners, and was quite amazed at how helpful it was. I even watched the pressing videos with rapt attention! My blouse turned out so neat and tidy with French seams and everything.


It's a simple pattern, but cleverly thought out so it looks far more complicated than it really is. The pattern pieces go together like a dream. I am really pleased with this blouse and highly recommend the pattern.


To top it off, I wore denim shoes for the photos.


If double denim is a fashion faux pas, I don't know what this is!


I rather like it. It makes me feel like a cowgirl.


 Oh yeah, a cowgirl....


 YEE HA!!!


Wednesday 11 December 2013

Little French Jacket Progress Report 2


When I left you at the end of Progress Report 1, I had quilted the lining to all the jacket pieces, tied squillions of loose threads and was ready to sew the jacket together. The pieces are first basted together with a machine stitch, so fitting adjustments can be made. In my case, the adjustments were necessary to match the stripes in the fabric, which were just not lining up after sewing. It helped a lot to use lots of pins (above) and to sew slowly with the walking foot in place. You can also see that the lining has been pinned into a little parcel to keep it well away from the seam stitching.


The seam allowances are still kept very large at this stage to allow for fitting and fraying of the fabric.


This is the outside of the jacket with my labels still in place to make sure I sewed the pieces in the correct order! The fronts are not yet sewn on in the picture above. Once they were basted in place, I sewed the peplum pieces together and attached the peplum to the jacket bodice as one piece. The shoulder seams were then pinned together to check for fit.


A rare glimpse into the chaos that is my beloved sewing room. Please don't look too closely at the mess, most of which is cropped out of the photo!

Next up was the sleeves, which had not even been cut out at this stage. The muslin sleeves were pinned in place on the jacket and lines were marked (pencil lines just visible below) where the stripes of the fabric met the sleeve. Obviously not all stripes can be matched due to the shape of the sleeve. It is up to the sewer to decide which ones to match, usually those on the upper sleeve are chosen. I chose to match the main pink stripe on the upper sleeve, front and back, as this was the most obvious.


The muslin was then placed on the boucle fabric and the stripes matched up with the pencil lines before cutting. The other sleeve piece(s) were then matched to the first to keep those stripes as perfect as possible. Then it was back to hand stitching the sleeve outline on the boucle and quilting lining to all the sleeve pieces before matching the stripes (below) and basting the sleeve together.


Then it was time to pin the sleeves in place and try on the jacket! This was awkward as it felt so fragile and still had raw edges, huge seam allowances and the lining pinned away from seams. Still, it was an exciting moment after all the work.


Bear in mind that the inside was very bulky so the jacket does look a bit strange in these pictures. However, from what I could tell, the fit was pretty good, so it was on to the next stage - coming soon!

Please refer to my First French Jacket post for information and links to the fantastic sewalong I am following to make this jacket.

Wednesday 30 October 2013

Little French Jacket progress report 1

Thewallinna
Many of you have probably heard the buzz about the little French jacket (LFJ) sewalong with Thewallinna and A Challenging Sew. I have admired these jackets over the years as they popped up on various blogs along with 70+ hour estimates of the time taken to make each one. 'Ha!' I scoffed. 'Surely it doesn't take anything like that amount of time'. So when I saw the sewalong I signed up pronto.
I had bought a Patrones magazine (Patrones Extra Dos Piezas, No. 24) earlier this year containing several drool-worthy LFJ patterns. I eventually chose this one. It has a matching skirt, which I may also make in the time left over from the 70 hours!
 

It's just as well I'm doing the sewalong as all the instructions are in Spanish, which I don't speak, although I am compiling a handy list of Spanish sewing terms. I've stuck it up above my sewing machine to study at my leisure!
First step was a muslin. I traced the pattern in size 42 (note: the sizing is different to Burda, in which I am 38) and used carbon paper and a tracing wheel to transfer the markings, stitching lines, grainlines etc. to my muslin. Would you believe I actually had some old sheets of carbon paper from my typewriter days? Well, if you knew me you probably would believe it! Everyone else is using newfangled sewing tracing paper in large sheets of fabulous colours. Pah!
Here is an early fitting of my muslin before I made a few additional tweaks. I didn't sew the back collar piece on the muslin. Bit of a sneaky time saver there!

The fit at the front was not too bad.

The back needed a bit more length and flare in the peplum and some fitting in the lower back. Once that was done, I drew all the new stitching lines with red and blue marker pens and unpicked all the seams (below right). Next, I had to cut all the seam allowances off using the red and blue guide lines (below left).
Ok, don't get excited, but we're about to unfold the actual jacket fabric!
I'm using a pink boucle with stripes that I have decided to place horizontally. When I went to take this photo I noticed that the stripes were completely wobbly. I fixed that up quick smart before anyone noticed. Here I have all my upper (non-peplum) pieces that are carefully placed so that hopefully the stripes will line up on the finished jacket. I did the same again with the peplum pieces. The sleeves will be cut after basting the jacket together to better match the stripes. The pieces are placed far apart to make room for huge seam allowances, which enable fitting adjustments later and allow for fraying of the fabric.
I feel like my boys on a long car trip. Are we there yet?
No, we are not!
Once the pieces were roughly cut (above), each one needed to have the outline of each pattern piece hand sewn in running stitch in a contrasting coloured thread (visible below). The shoulder seams then had to be strengthened by cutting a piece of organza to fit the shoulder to the lower armscye and then these boucle pieces were used (still with the muslin pinned in place) to cut the lining for every pattern piece, being careful to match grainlines.
Deep breath. Then came the quilting.
After some trial and error, I decided to quilt in straight lines parallel to the stripes in the fabric. This is done by machine (thank gawd), but has to be an inch in from all sides and 2 inches in from the hem. I used my handy inch gadget thing to measure as I went. The quilting lines were 2-3cm apart and, I'm pleased to say, are invisible in this example (to the right of the inch gadget).


Here we are with the quilting done (not yet ironed) shown from the back and the front, ready to have the threads pulled between the boucle and lining and hand knotted. Yes, every blinking thread. Yes, it took hours. The organza stabiliser is also visible here, as are my sticky labels identifying each piece.


Hooray, we're finally ready to sew something together.

Oh, and just quietly, to the diehard readers who made it this far, that 70+ hours....I think it's an underestimate!

Update: For Part 2 of the Jacket construction, please click here.

LinkWithin

Related Posts Plugin for WordPress, Blogger...