Showing posts with label Tutorials. Show all posts

Tuesday 22 March 2016

Little leather bag


I have been making little leather bags for a while, but have never blogged them before. My last one recently needed replacing so I thought I'd take some photos of the process I used to make this one.


This bag measures 18 x 22cm and is small enough to hang over my wrist so I have both hands free for important things like walking the dog and rummaging in op shops and fabric sales. 


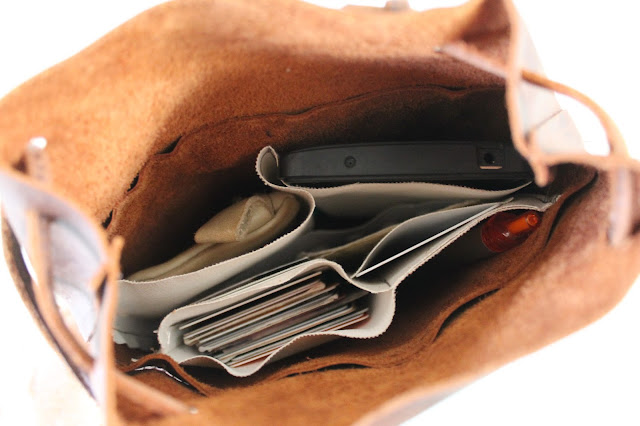
The inside is completely custom designed to fit my personal things. I have larger pockets for my purse, phone and general cards and additional pockets for frequently used cards, my sewing pattern wishlist, headache tablets etc. 


As soon as the bag is picked up by its handle, the top pulls closed and holds everything inside.

This clever design is based on a tutorial by jujumade. She makes the most stunning bags accented with ceramic beads. My first bag was made by following her tutorial, but I have evolved my process since then to suit my needs.


This is not really a tutorial, I just took a few progress pictures. Using leather scraps from Remida Creative Reuse Centre, I cut two rectangles. One was approximately 22cm wide and 15cm high* and the other was 22cm wide with some excess at the base to form the bottom of the bag. These were machine sewn together along one side. Using canvas, also from Remida, I sewed pockets for cards and things (above left) and larger pockets for my phone and money (right).

*I ended up deciding this was not deep enough for the bag and I added another 8x22cm piece on top of each side.


Once the pockets were sewn in place (using minimal stitching so it would look nice from the outside), I needed to close up the second side of the bag. This had to be hand sewn, so I ran the leather through the machine without thread first to create the holes. That made the hand sewing much easier and neater (above).


Next I determined where to cut the base, which was the excess of one side folded under. After cutting, I held it in place with clips and sewed it by machine.


I made the strap by sewing a 1cm wide strip of leather in half lengthways. Holes were made in the top of the bag with a leather punch (four holes on each side) and the strap threaded through and knotted in place.


Lastly I added my little purse that I'd made to go with my last bag. It has been well used and is a bit grubby, but still perfectly functional.


Voila. A cute and very practical new bag with a special place for everything I need. I have been taking this everywhere since I made it and it's perfect.

Wednesday 10 December 2014

How to make a simple photo backdrop

Vogue 1313

I churn out hand made clothes at a rare old rate, not that you'd know it from my frequency of blog posts. One of the barriers to getting clothes on to the blog has been finding the time and location to take the photos. I love blog photos taken with beautiful scenery in the background, but it's just not always possible and has ended, more than once, with me feeling very embarrassed by the onlookers!

So, I dreamed up a way of making myself a photo backdrop that I could set up easily at home.

And here it is, neatly stored away:


I've mentioned before that I'm a member of Remida, an amazing place in Perth that recycles factory offcuts and the like. It was there that I headed to search for supplies. 

I collected a long (approx 2m), sturdy cardboard tube (try fabric stores for similar) and a large piece of white vinyl (approx 2 x 4m). The vinyl is great for this as it is fairly lightweight, holds its shape and doesn't tend to ripple. However, a large bed sheet or tablecloth may also work. 

The shorter edge of the vinyl was taped to the tube with strong packing tape. I then cut some rope to about 2.5 times the length of the tube, doubled it over and tied large bulldog clips to each end. The bulldog clips attach to each end of the tube for hanging and make it easy to switch the white vinyl for another colour backdrop if you so desire. If you don't have clips, just thread the rope through the tube and tie it (note that the rope will get in the way when rolling up the backdrop for storage with this method).

I searched around my house for somewhere to hang my new contraption and eventually settled on the balcony overhanging my back courtyard. There's enough room there to set everything up and there is lots of natural light. I installed two of these high-tech hooks on a fabric tie chopped off some garment or other. They now hang attractively from my balcony ready for the next photoshoot.


 This backdrop can be set up in about a minute. I stand my tripod and camera facing it and click away. Sometimes I even stand a mirror against the tripod so I can see if my dress (and myself) are looking their best for the pictures!

Vogue 1316

Once taken, the pictures can be quickly manipulated so they are ready for the blog. I use iphoto to crop them, quickly retouch any creases in the vinyl (eg. top, right of 'before' photo above). The above photo was taken on an overcast day so I clicked 'enhance' to brighten it up. Done!

Named Wyome jeans

The vinyl is also great as a background for inanimate objects, such as these jeans...


...and also works well for photos of pets and children. Awwww Truffle! Here he was putting his paw up for a treat. I just removed the hand and treat from the photo using Photoshop.

So, although I will still take photos in my natural habitat when I am able, this is a fantastically easy way of quickly producing some fairly professional-looking photos.

Monday 8 September 2014

Biker-style ponte pants tutorial with free pattern pieces


So, you saw my ponte pants and want to make some of your own?

Let's do it!

Supplies:
You will need approximately 1 metre of ponte fabric, a leggings pattern* and a printout of my additional pattern pieces for the quilting and knee detail (download free here).

*I used the Megan Nielsen Virginia leggings pattern and modified it as described below. You can use your own leggings pattern or make one by tracing a pair of leggings (remember to add seam allowances).

Method:

The Virginia leggings pattern has no side seams. You need to create some by folding the pattern in half lengthwise (see below) so the two crotch curves match up as closely as possible. Open out again and trace separate front and back pieces using the fold line as the new side seam. Don't cut it out yet. Next you need to add at least 1.5cm all the way down each of the long leg seams (inside and outside leg). This is because ponte knit doesn't have the same amount of stretch as leggings fabric. Larger sizes may need to add more leg width. 

Check your printed knee and quilted pieces against your leggings pattern. Add width if necessary to match your leggings width. 


Cut out all your pattern pieces, including the printed ponte pants pieces, from ponte fabric that has been folded with selvedges together. Take note of grainlines and direction of greatest stretch.


With the two front pieces right side together sew the crotch seam using an overlocker, zig zag or other stretch stitch. Repeat for the two back pieces.


Mark the placement of the quilted piece on your front leggings pieces. Mine is marked in white chalk 27cm from the top of the side seam. Adjust yours as necessary depending on your size. Hold them up against your legs to check placement.


Fold over the top 1cm of the quilting piece and place it on the leggings front piece level with the chalk mark you just made. Pin in place.


Topstitch along the top edge of the quilting piece. I chose to use a straight stitch and stretch the fabric as I sewed so the resulting seam has some stretch. You could used a triple stretch stitch instead but I find it to be less neat than a straight stitch. You can see the seam being stretched as it is sewn below.


Using your sewing foot as a guide, stitch quilting lines through the two fabric layers all the way down the quilting piece. Remember to stretch as you sew. I moved my needle to the right to get stitching lines approximately 1cm apart.


This is the finished quilting. Don't worry if the sides are a bit uneven.


Fold the edges of the knee pieces over by 1cm and place them so they overlap the quilting pieces by 1cm. Pin in place.


Topstitch along the top and bottom edges of the knee piece, stretching as you sew.


If you fancy pockets, add them to the back leggings pieces now. I used the pockets and placement from my Jamie jeans pattern and topstitched them in place. If you don't have a jeans pattern, use a pair of jeans as a guide.


 Trim any excess fabric from the edges of your quilted and knee pieces then sew your leggings together with an overlocker or stretch stitch. I like to sew the inside leg seam first, matching the crotch seams, then the outside leg seams. Add the waistband, hem the lower edge and you're done.


Hooray. Ponte pants!


Sunday 7 September 2014

Ponte pants and another Briar t-shirt


Ponte pants. Ponte pants, ponte pants!


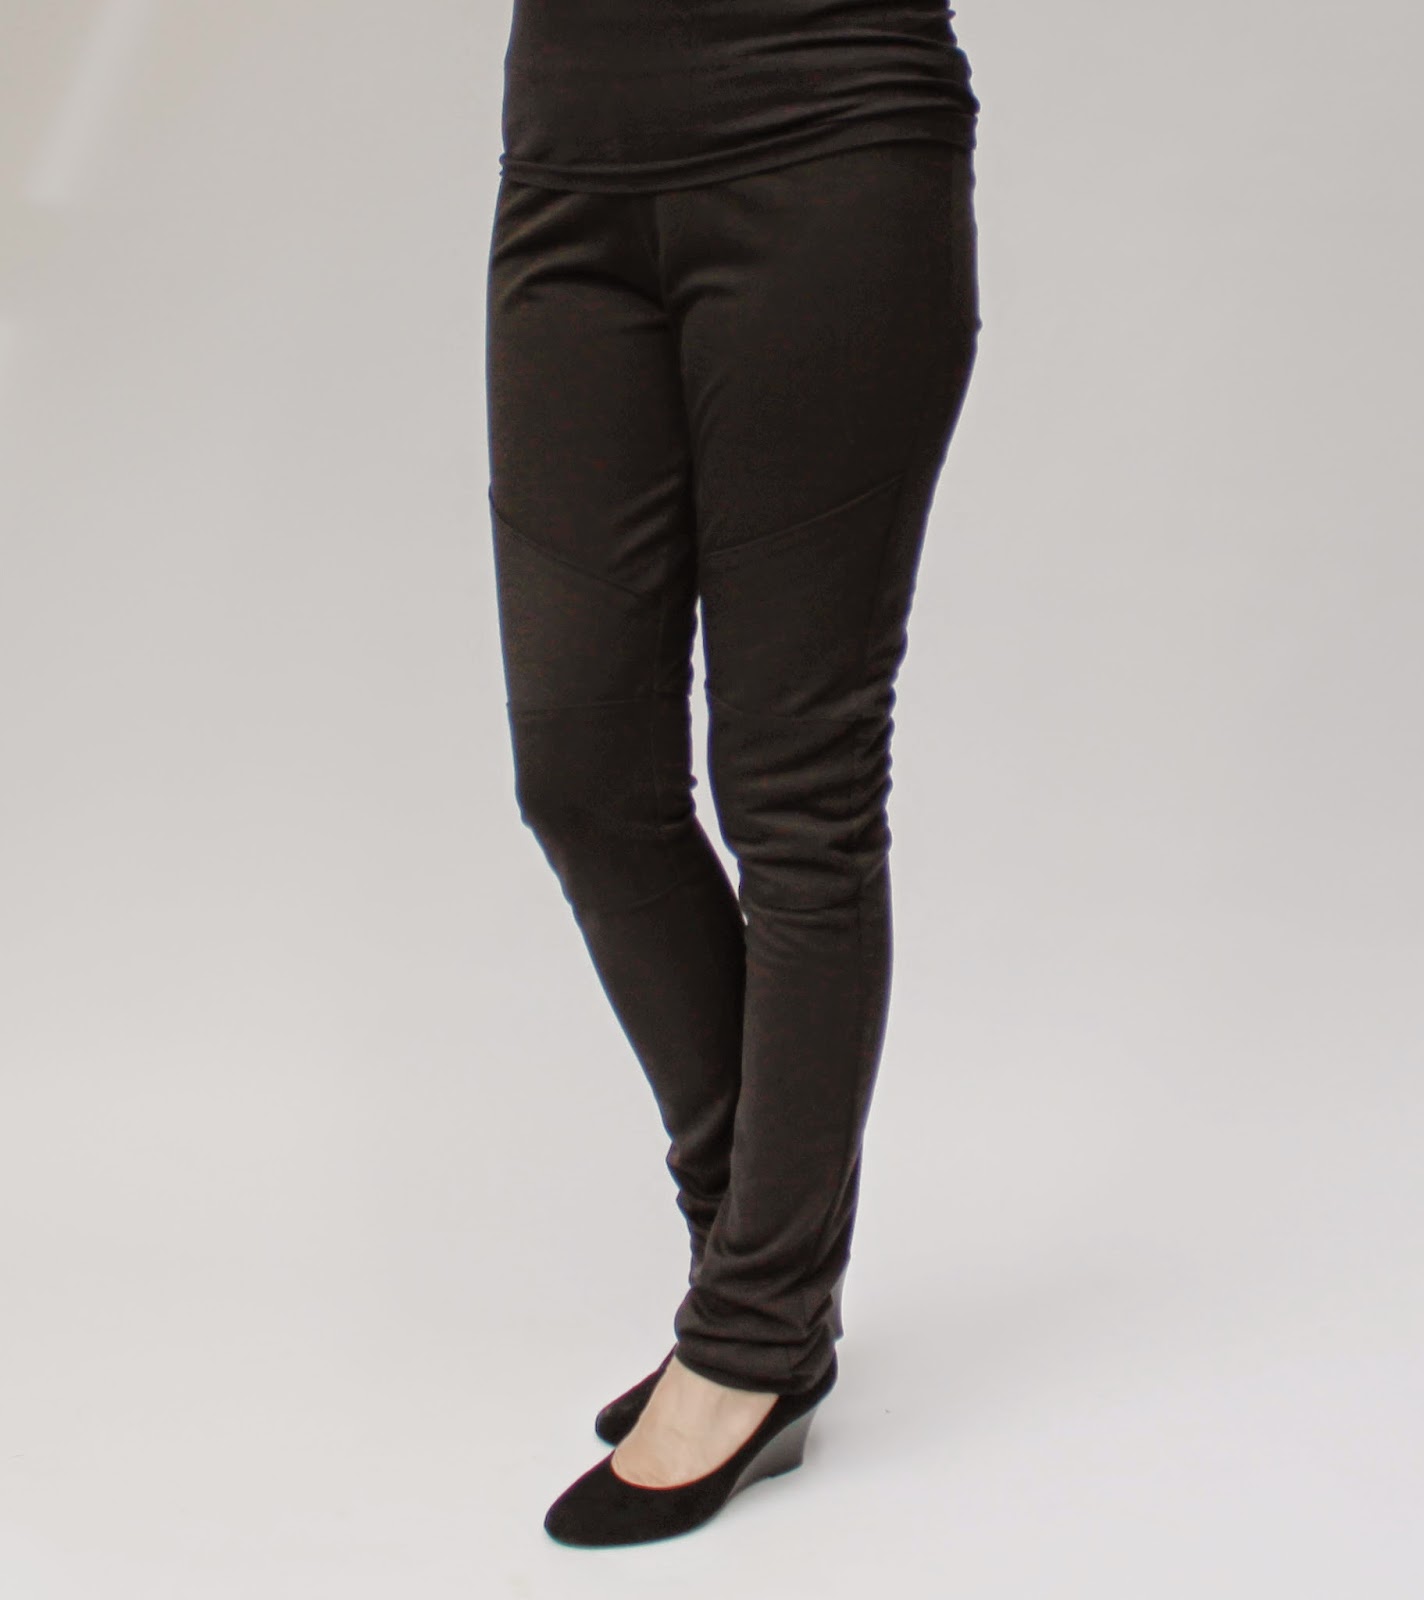
With quilting and knee patches.

Up until a week ago I didn't even know I needed these and now I can't get enough of them.


I liked them so much, I made another pair in black (a bit looser fitting). 


I've lightened these pictures to show the detail.


So comfortable.


And then my sister saw them and requested a pair....with back pockets.


So, here's what happened. I was chatting with my sister and she mentioned that she'd seen someone wearing ponte pants and how great they were and how she'd asked where this person had bought them from and this person said she'd bought them three years ago and they were no longer available. She chatted on a bit more but I wasn't really listening. My mind latched on to the words 'ponte pants' and careered off imagining what such things might look like and, more importantly, how I could make some. I knew immediately that mine would have a slight biker look. When I got home I googled some images and found my inspiration:

My inspiration was this ebay listing
I decided to use the Megan Nielsen Virginia leggings pattern as the basis for these and draw up some pattern pieces for the quilted area and knee patches. I created a side seam (this leggings pattern doesn't have a side seam) and widened the legs a bit to account for the limited stretch of the ponte.

And THEN, I drew up these pattern pieces all proper like so I could make a tutorial and include a download so anyone who also feels that they must have ponte pants can have them tooooo!

But you will have to wait until tomorrow for the tutorial and download. Also, the download will only be my quilted piece and knee piece. The Virginia leggings pattern is copyright, but you can get your own from here or use a different leggings pattern or even trace some of your own leggings and make your own pattern. 

So let's get that leggings pattern ready and tomorrow we'll make some ponte pants!

Oh yeah, and I made this t-shirt with the Megan Nielsen Briar pattern. Stretchy at the front and sleeves, woven at the back with a pleat for movement (described here).


 Oh and one more very exciting thing. Burdastyle recently asked for nominations so they could compile a list of the 50 best bloggers for sewing enthusiasts. AND I MADE THE LIST!!!! I can't believe it. Thank you so very, very, very much to whoever liked my blog enough to nominate me. I'm just happy that anyone wants to read about what I've made. Burdastyle now wants people to vote for their favourite blogs from the Top 50. There are some really great blogs on the list, so it's worth a look.

Until tomorrow xxx

Sunday 24 August 2014

Meet Edward Tulane


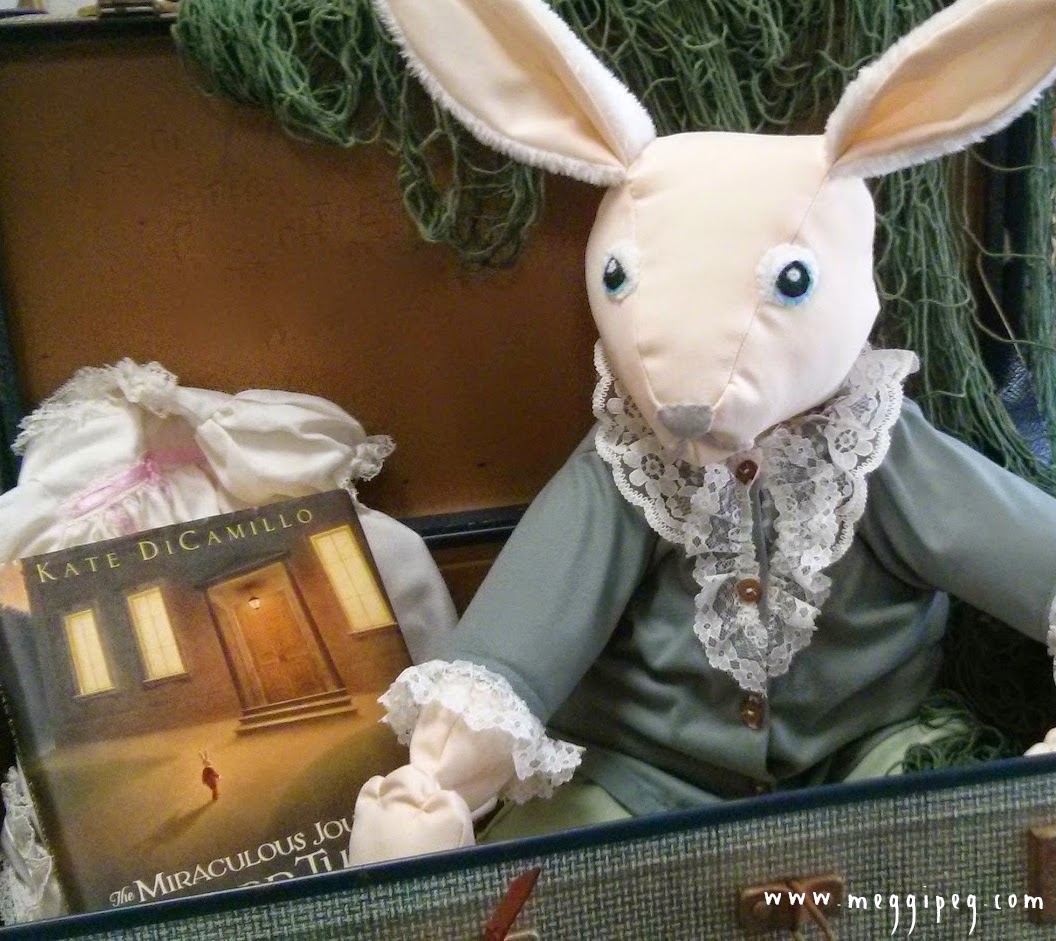
Not long ago, the delightful teacher of my younger son's class came to me with a proposition. She was planning to read 'The Miraculous Journey of Edward Tulane' to the class and wanted a stuffed rabbit to use for associated activities. She had searched everywhere for a rabbit that was distinguished enough to use as Edward, but had not found anything. Well, it seems that word of my sewing addiction has reached the school as the teacher asked me if I could make something that would fit the bill.


I don't make many toys, but creating this adorable rabbit was certainly a project I could enjoy. I googled as many images from the book as I could find. I also found a lady who has posted pictures of her own beautiful Edward Tulane stuffed rabbits. I found a book in the library ('Creative soft toys to sew' by Creative House) with a rabbit pattern that I thought I could modify to look the part. 


I decided to make everything from materials I already had, which was not difficult given the resources in my bursting-at-the-seams sewing room.

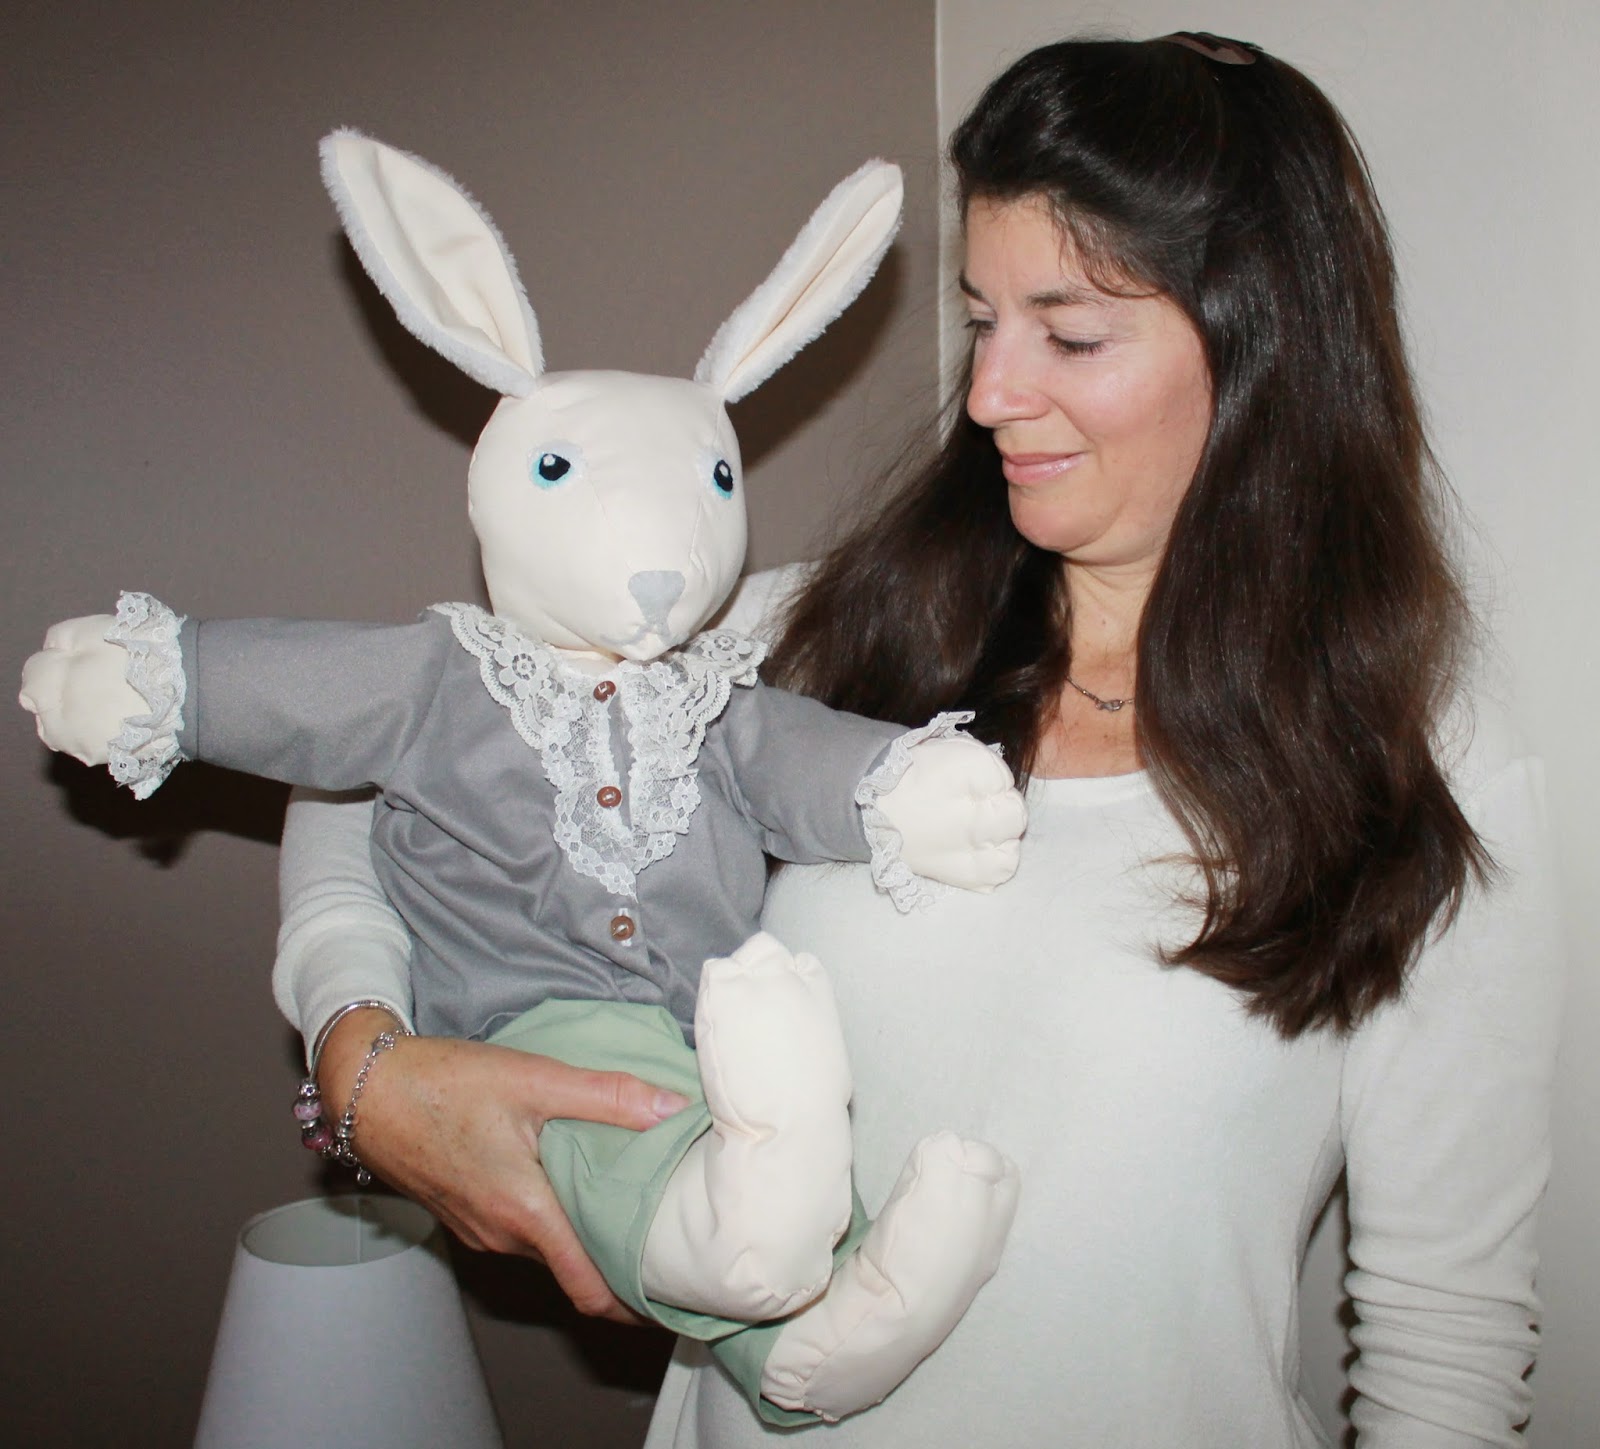
The main body is made from a lovely off-white cotton (op shopped) and the ears are made from scraps of white fur fabric left over from dance costumes. The clothes are also made from scraps. I used felt for the eyes and nose.


After I had made and stuffed the head, I slimmed down Edward's face with hand-stitched darts below the ears. I wanted the ears to stand up as in the book illustrations so inserted copper wire into each one. I used long wire so it also ran through the head and down into the chest area to provide head support.


I layered the parts of the eyes and handstitched each layer together before sewing the eyes to the head. I thought that was safer than trying to embroider the eyes straight on.


The clothes were made using a pattern for baby clothes, which I modified to fit Edward. I tried to make the colours of the clothes and the lace embellishments as authentic to the book illustrations as possible. I also added some hand stitches on the hands and feet to make rabbitty fingers and toes.


I loved this project and was over the moon with the final result. I think my Edward turned out a lot like the rabbit in the book and, although I am not a soft-toy fan, I was a bit sad to have to let him go!


I took him to JJ's class the day after I finished him. Since then, I have had so many children come up to me and say how much they love Edward. The teacher is reading the book to the class at the moment and the children get to take turns holding Edward during the story. It makes me all glowy every time I think about it. The class also made me a lovely card and the teacher bought me a beautiful scarf to say thank you. Thank YOU Mrs G for all you do for the children and for involving me in this fun project.

LinkWithin

Related Posts Plugin for WordPress, Blogger...