Showing posts with label Buying fabric. Show all posts

Monday 22 September 2014

Long-sleeved tee with pleat - Burdastyle 03/2014#114


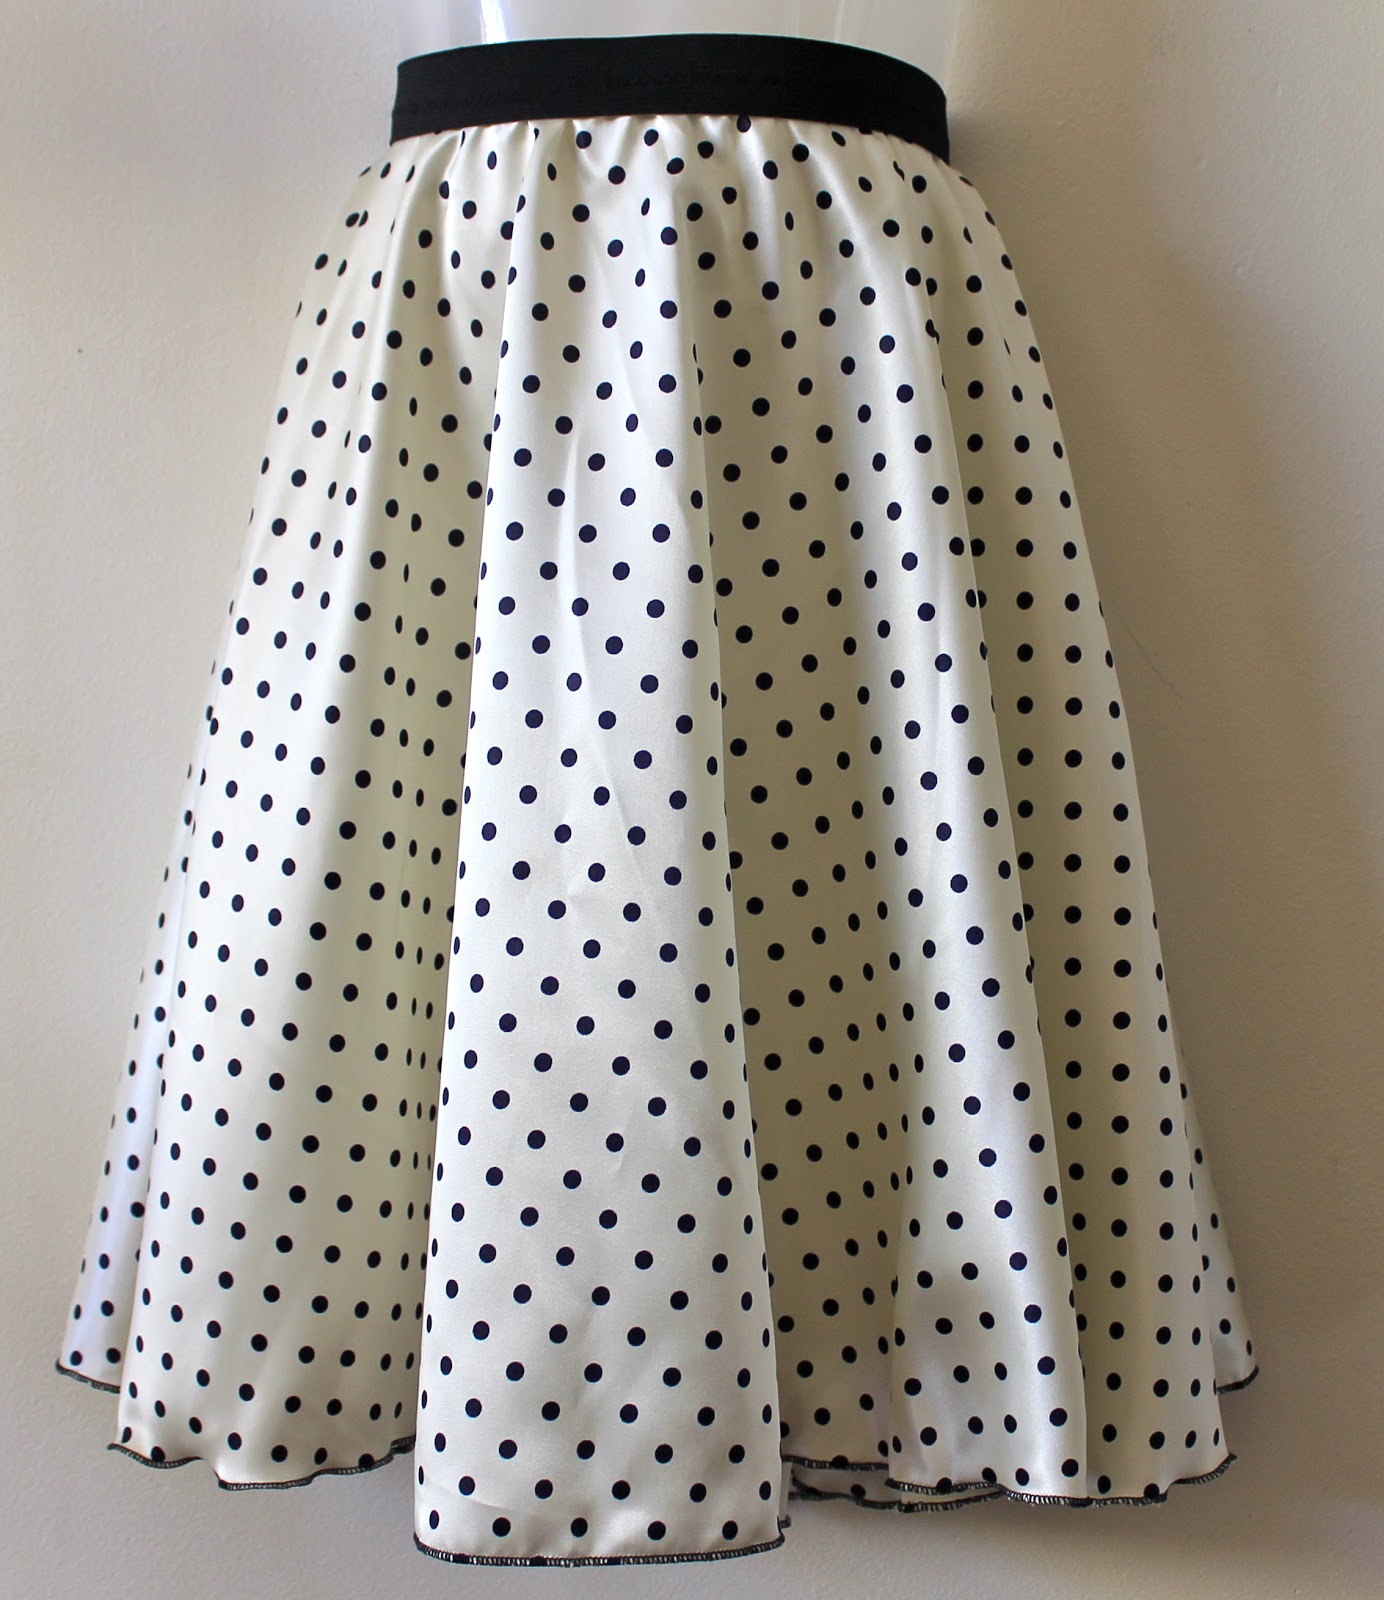
I stumbled upon a fabric sale a few weeks ago at a manufacturer of high-end dresses. There were lots of lovely silks and fancy fabrics on rolls as well as big boxes of scraps. Of course, I couldn't help but rummage in the boxes. I love a good rummage! One of my finds was this lovely, soft, printed jersey in black and beige. It's beautiful quality and cost around $7. I went through my patterns and decided on this long-sleeved tee from the March 2014 issue of Burdastyle.

Burdastyle 03/2014#114
The interesting thing about this pattern is the little pleat, centre front and centre back, at the hemline.


Giving the illusion of a penis and a tail when standing side-on. And when you've finished admiring that aspect, check out my new boots! Bought last week on sale at Seed, 60% off. Love these.


The pleat is actually quite flattering I think, as long as it's not viewed side-on of course. It adds a bit of interest to the top.


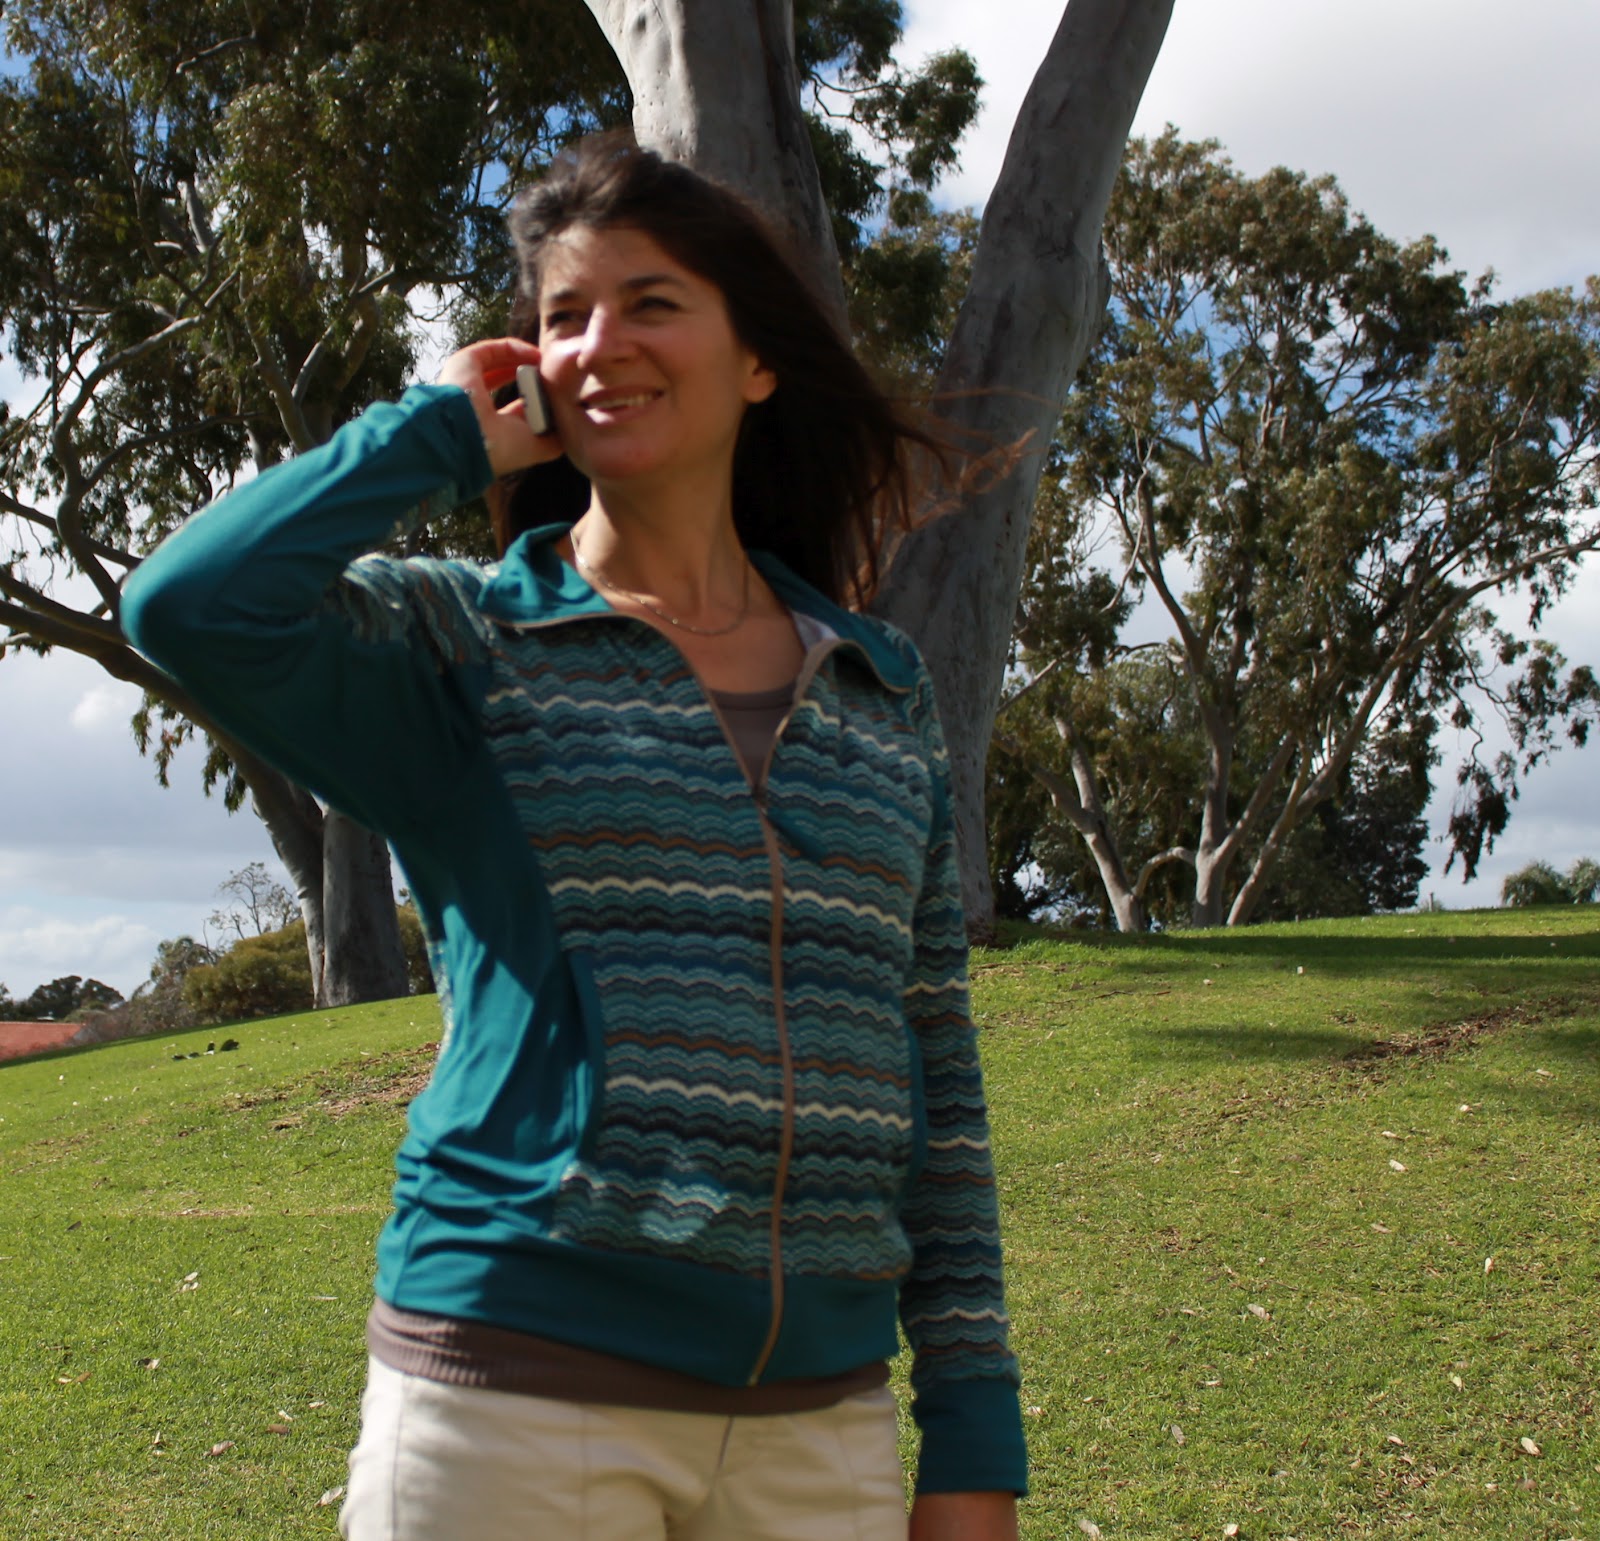
I was short on fabric - again - so made the sleeves mostly black, from a scrap of viscose knit, with cuffs made from the main print. The neckline is also black.


I finished the hem and sleeves with a stretch stitch on my sewing machine. I usually use a twin needle for hems as I like the finish, but I find that the stitches often pop undone after a while. This was an experiment to see how the different hem stitch looks and holds up under pressure.


This was a pretty simple top to make. The hardest part is working out how to fold the pleat, which did take me some thinking. After that it's smooth sailing. This top is so comfortable and, thanks to the lovely fabric, quite stylish I think. I can see it being very well used until the weather warms up.

Worn with ponte pants (pointy pants if you turn me sideways!).

Sunday 17 August 2014

Fabric shopping in Borneo


A holiday would not be complete without a thorough investigation of the local fabric establishments.

I had done my research before arriving in Kota Kinabalu so I knew there were several fabric shops in the city. When I spied the 'Textile Emporium' I was pretty excited.


Well, I can now sum up my fabric shopping experience in Kota Kinabalu in two words:

'dead' and 'loss'

or maybe

'don't' and 'bother'.

There were several similar shops throughout the city and I went in them all. There were headscarves, kaftans and traditional Muslim clothes in every colour of the rainbow, but where was the fabric?

There was no fabric in the Textile Emporium.

I'll just let that sink in.

From my conversation with one of the assistants there, I gathered that they did have fabric, but were not able to sell it during Ramadan, so it was all hidden away for the month. She did dig behind a rack of clothes for me so I could glimpse a few rolls and I convinced her to let me buy the paisley print you see above. Not bad but not what I was hoping for at all.

So, I am not able to provide any insights into the beautiful array of amazing but cheap fabrics I was hoping to buy. All I can say is that Ramadan is not the time for sewing enthusiasts to visit this city in the hope of spending up big in Textile Emporium.

The dates for Ramadan vary each year, but it is usually around mid to late June for a month. The bonus is that tourists can join in the nightly feast at sundown and many hotels put on fabulous buffets. Small compensation for the lack of fabric!

Tuesday 17 June 2014

My happy jacket (Burdastyle 12/2012 #139)


When I spied this jacket in the December 2012 issue of Burdastyle magazine I instantly fell in love with it. I even bought some fabric to make it - a grey knit - but the fabric choice didn't feel right and I put it on the back burner (read: pile of stashed fabric so high it's threatening to topple and crush me, the dog and two sewing machines). Then, last week while perusing Textile Traders' sale, I found a stand of this soft, fluffy deliciousness in several different colours. I dragged a few rolls over to the mirror (I wish there were more mirrors in fabric shops) and began my decision-making process. I settled on this lovely golden, mustardy, breastfed baby poo colour. It's a good autumn colour and just all round bright and happy. I love this fabric and can't stop touching it! It is called 'double brushed flannel poly rayon', which means it's washable (no probs in the machine, I've checked) and, I thought, non-fraying, so perfect for this jacket featuring raw edges.

Burdastyle 12/2012 #139 - almost the same as mine!

OK, so it turns out it does fray, which was a bit of a bummer since I didn't realise this until after I'd cut out the jacket. Luckily I managed to overcome the issue by changing the exposed seam allowances to non-exposed ones and using lots and lots of ribbon to encase all the other raw edges.


There's ribbon everywhere! I used the ribbon folded over to bind the lower edge of the jacket, the sleeve edges, the pocket openings and the hood. The ribbon was used flat to hide the seam allowances of the hood and sleeve cuffs as well as to finish off the zip edges at the front and the hood. The remaining inside seams were finished with the overlocker.


This was not a difficult jacket to make. I used my usual size 38 in Burda with no alterations. The sleeves are made extra long and turned back as a feature, so no problem with sleeve length.


I am pleased with the non-exposed seams now, so it was a happy accident that the fabric frayed! I think it gives a cleaner finish. I also like the ribbon detailing, just enough shine to add some interest here and there.


The hood is enormous and I doubt that I'll use it. The stiffness of the zip does make it stick out a bit, but I don't mind as it goes with the cute and casual style of the jacket.


The lovely zips were from Homecraft Textiles. My favourite place for zips in Perth. The two zips and ribbon cost $23, so a bit expensive, but worth it to get the right colour and nice metal finish. The fabric was $20/m with 40% off, so this cost just over $40 to make.


Speaking of the zips. I used a little trick that I worked out from making my Jalie 2795 jackets. In order to get the front matching up a much as possible, I sewed all the pockets except the row of stitching across the top of the pockets (across my tummy, see above) before inserting the zip. That way I only had to match the edges at the top and bottom of the zip and not worry about matching anything in between. Then, before adding the ribbon trim and topstitching the zip, I sewed the top of the pockets making sure the line of stitching was nice and straight all the way across the front. Voila, nice and neat!


Here is the jacket unzipped:


Hood up:


Zipped right up:


And open, Batman-style!


I won't be wearing it Batman-style.


I am over the moon with my soft and cosy Happy Jacket and pleased I waited for the right fabric to call to me. I'm going to wear it all winter long!

The jeans are my polka dot Jamie jeans. I love these jeans and wear them often. The fabric has minimal stretch and they hold their shape really well throughout the day.

Outerwear Contest

Tuesday 20 November 2012

27 Dresses...well skirts actually


My sons' hip hop dance class consists of three boys (including my two) and 27 girls!

One of their dances for the end-of-year concert has a 50s theme and I was enlisted to make circle skirts for the girls. I did volunteer my sewing skills, but the dance teacher was rather apologetic when she told me how many skirts she needed!

I needed no excuse to go to the fabric shop for supplies. I bought 30m of polka dot fabric in two colours - white with black spots and black with white spots, 20m of black elastic and some overlocker thread. I had planned to make my own pattern, but then I found a pattern for girls' circle skirts (Simplicity 7401) in the op shop for 20c. Must have been fate!


 I modified the pattern a bit and made three sizes (6, 8 and 10 years) on sturdy brown paper. Then I got cutting and sewing.

Here is a finished skirt.


I wanted the skirts to be as quick and simple to make as possible as there were so many. They needed to look good on stage, but it was fine if they were a little rough on the inside! The pattern suggested attaching a separate casing for the elastic waistband, but I made them with an exposed elastic waistband instead.


The waistband was attached by dividing the elastic and the skirt waist into quarters, stretching each elastic quarter to fit each skirt quarter and attaching the skirt with a simple zig-zag stitch. This can be seen more easily from the inside. Of course, simple ribbon size labels were a must.


 After a while, I got a bit of a production line happening where I grouped the skirts into sizes then did all the side seams, followed by the elastic waistbands. Once they were all made, I changed the overlocker to rolled hem mode and went for it. Metres and metres of rolled hems. It was quite therapeutic actually, although I had to chase the overlocker around the table if I went too fast :)


I calculated that, once they were cut out, each skirt took about 15-20 minutes to make.

Done!

Tuesday 7 August 2012

Teal we meet again: Jalie jacket pattern 2795


I've bee sewing again. This time it's another Jalie jacket, pattern 2795. I have previously made a similar Jalie jacket using pattern 2679, but it was time to try this one as I've had the pattern for a while now and winter is early over.


The pattern has a hooded ad on-hooded version. I decided at the last minute to leave off the hood, even though I had it cut out and sewn together. I think I'd have put it on if my hair was shorter, but my hair just ends up covering the hood, which then creates a strange hunchback-like bump. Well, that's what it looked like to me as I peered round in the mirror at my pinned-on hood. So I left it off.


I was very happy with this pattern. I chose a size U, which was 3cm less than my measurement at the bust. The fit is just right.

As part of my Restyle challenge, where I try to wear op-shopped items every day in August, I chose fabric that had been purchased from the op shop. I've had both these fabrics for quite some time and I can't remember what they cost me, probably around $3 for a huge piece of the patterned fabric and $2 for the teal. Both are two-way stretch, t-shirt weight fabrics and, although the Jalie pattern is meant for thicker fabric, such as fleece, I like the practicality of a lighter jacket as we move towards spring. The pattern worked well in this fabric, although the collar is a bit floppy.


Although I had plenty of the patterned fabric to make this jacket, I thought this might be a bit much, so I broke the pattern up with the teal fabric. I was very pleased when I went through my stash and found how well these two went together. The main body of the jacket is patterned and the sides, undersides of the sleeves, collar, cuffs, waistband and pockets are plain. I'm really pleased how this turned out.


I've made several Jalie patterns now and, like the others, this one was clear and straightforward to make. There are a LOT of pattern pieces though and I found I'd forgotten to cut out a couple as they were labelled 'cut 2 on fold' and I'd only cut one set the first time around. Luckily I had enough leftover fabric. Using the patterned fabric was also a bit challenging, especially as it was quite stretchy. I was careful to cut the pieces out so the pattern matched, but I ended up inserting the zip three times before I was satisfied that the pattern lined up.


Overall I'm really pleased with this jacket. It is just warm enough to wear today (windy, 17C) with a long sleeved t-shirt underneath. The stretchy jersey fabric also means it's super comfortable. The pattern combination worked out well and I'm pleased that it's very one-of-a-kind.


This last picture shows some of the jacket detailing in the sleeves and pockets. I also added a scrap of teal fabric on to a small plumber's washer and attached it to the zip pull for a extra bit of detail.


A very enjoyable and successful project. Thanks for reading :)

Wednesday 30 May 2012

Seeing double


I made two tops using the StyleArc 'Milly' pattern. The shorter one for me...


...and the longer one for my Mum for her birthday. I also made her a Jalie jacket, which I blogged about here.

Here's Mum's top:


Both tops are size 10 and are made exactly according to the pattern instructions (not like me, I know - ok I did change the way I attached the neckline) with the two suggested sleeve lengths and hem lengths. I made both tops from two metres of beautiful bamboo knit fabric from Fabulous Fabrics. I originally bought 2m to make Mum's top, then realised as I was cutting it out that I could get a second, shorter top with short sleeves out of the fabric as well - score!

I have made this pattern before (see it here as a dress). That time was more of a trial run before I used the expensive fabric. It turned out so much better using good quality fabric. It was also easier to make the second time as I'd worked out how to sew the pin tucks, which are the only really tricky part of this pattern. Here are some pictures of the pin tucks being sewed:

Pintucks from front. Left side ironed (line up with neckline edge), right side not ironed.
Pintucks: wrong side of fabric
Mum is really pleased with her top. I made it after she had admired this Seed top. 


Would you believe that she went out and bought the Seed top the day before I gave this to her!!!??? In the end she tried on my top and the Seed top and the family consensus was that mine was a better colour and length for her so she took the other one back to Seed. Phew!

I'm also thrilled with my shorter version. It's flattering and so comfortable to wear. I definitely recommend this pattern.


LinkWithin

Related Posts Plugin for WordPress, Blogger...