Showing posts with label Vogue. Show all posts

Wednesday 11 February 2015

Struggling to love Vogue 1152


I have had this pattern for a while and I just love the dress in the pattern photo. I finally decided to make it in this navy, printed poly fabric with a nice drape (or so I thought). There is a lot of work in this pattern, which I always enjoy, but the final result has left me decidedly underwhelmed.

Vogue 1152

Vogue 1152

The front hemline is shorter than the back, which is fine, but I think it's perhaps too short on me at the front making the proportions look wrong. The side view is not doing me any favours around the midsection.


The back view is ok, but I think the gathers at the front and the back are too high up and would look better at the waistline. The blue piping, which I agonised over, is all wrong. It highlights the area between the waist and the bust, instead of drawing the eye somewhere more interesting.


The front of the dress has a very interesting gathered section with piping, that is extremely difficult to sew neatly. This squiffiness was my best effort! If I made this again I don't know that I would add the piping, both for the look and for the ease of obtaining a neat finish. The gathered section does provide a nice fit at the bust and yes, the neckline is very low! The more I analyse this dress, the more I realise that the focus is very much in the bust department.


The back gathers are quite nice I suppose.


I'm not sure where I stand on the sleeves, but I suspect there is something a bit wrong there too.


I'll accept that this dress is not a total disaster, but I don't feel inclined to wear it. It looks kind of bulky and the proportions are off. I am still dreaming of one that looks like the pattern picture, so I'm not ready to abandon this pattern yet.

My thoughts for next time:
- use a light, cottony fabric with a lovely drape and a much nicer print that the one I used;
- leave off the piping;
- raise the neckline slightly;
- lower the front hemline;
- do something with the sleeves to reduce bodybuilder look;
- investigate lowering the gathered sections, but may require too many pattern alterations.

My thoughts for improving this dress:
- wear in the winter with tights, boots and a big coat over the top.

Thursday 6 November 2014

Triple denim and a Bee - Vogue 1247 skirt and Bellini blouse


Lots to talk about today and lots of pictures. It all started with the Surprise Sewing Bee contest on Pattern Review. This is a fun competition based on the 'Great British Sewing Bee' series shown on the BBC. Each week, for four weeks, the Pattern Review website will announce the garment to be made for that week. The entries will be judged and eliminated from the competition, presumably if they don't follow the specifications of the particular garment.

For week 1 of the competition, contestants were required to make an A-line skirt with a zip, lining, button or hook closure, waistband and hem.


I decided to go with Vogue 1247. I used this cotton fabric, made of pieced strips with lace detail, that I bought in Bali years ago. I decided not to include the skirt pockets to keep the stripes neat and to make sure I was adhering to the competition rules.

I was really careful making this to keep everything neat. I cut the back first, then lined up the front to match the stripes. I pinned the upper and lower pattern pieces together and cut as one piece (below).


I even went to the bother of binding all the raw inside edges!


I lined it too!


Here are the pictures of the finished skirt:


I matched all the stripes as best I could, but the way the fabric was made meant that it wasn't possible to get this completely neat. The lace had been sewn on a bit wonky by the manufacturer (I unpicked and redid part of it) and the check pattern was not even. Still, I am really pleased with the way it turned out. 


Sheer, cotton lining with folded darts.


Now it just so happened that I had found this washed out chambray, denimy fabric at Remida recently that just so happened to match the skirt fabric rather well! I immediately thought of the Bellini blouse pattern by Capital Chic that I won in the Refashion Contest by Sew Amy Sew (thank you Amy and Sally). I decided that my stripy skirt would not be complete without the Bellini. In fact, I became obsessed with the thought and cancelled all engagements (except my Melbourne Cup lunch) so I could make both this week.


The Bellini has two collar options. I went with the scalloped one to fancy up my plain fabric.


The Bellini was a joy to make. I followed Sally's sewalong, which I expected to be just for beginners, and was quite amazed at how helpful it was. I even watched the pressing videos with rapt attention! My blouse turned out so neat and tidy with French seams and everything.


It's a simple pattern, but cleverly thought out so it looks far more complicated than it really is. The pattern pieces go together like a dream. I am really pleased with this blouse and highly recommend the pattern.


To top it off, I wore denim shoes for the photos.


If double denim is a fashion faux pas, I don't know what this is!


I rather like it. It makes me feel like a cowgirl.


 Oh yeah, a cowgirl....


 YEE HA!!!


Friday 5 September 2014

Vogue 1313 in scuba knit!


I've been wanting to make this pattern for ages and I finally got my hands on it. Rather unadventurously, I made it exactly like the picture on the pattern in black with off-white side panels. However, I didn't emulate the startled pose of the model, who looks like she's trying to regain her composure after slipping over.

Here's the hilarious pattern photo:

Vogue 1313
I made the dress in size 12, a size smaller than my measurements would indicate, and the fit is good. It's a very comfortable dress that is not tight-fitting. I used black scuba knit from Spotlight with off-white ponte for the sides. I'm wondering if scuba knit is the same as neoprene, does anyone know? Anyway, it was lovely to sew and is very nice to wear - warm, but not sweaty. I bought a fancy zip from Spotlight too, nice and silvery.


It's hard to see the details of the dress with the black fabric, but there is decorative shoulder stitching, enhanced by the addition of fleece scraps on the inside. The seams are all topstitched too. The fleece backing on the shoulders added a lot of thickness which made it difficult to insert the neck and arm facing. Next time I would heavily trim the fleece to help this issue. The facing is made from a thin knit fabric to reduce bulk.


The only other issue I had was that the zip, despite being the recommended length, was slightly too short for the opening. It would look nicer finishing right on the neckline.


Otherwise, this was an easy dress to make and I do like that optical illusion that slims the body on both sides!


Looking at these pictures, I probably should have put on some more delicate shoes, but this is how I've been wearing the dress during the winter, with a jacket of course. Now spring is here I'll be daring and try it with bare legs!


I love this pattern just as much as I knew I would. The loose fit, the stretch fabric, the zip, the drop waist and the slouchy pockets. It's very me and I'm happy.

Thursday 28 August 2014

Scrapbusting and repurposing - Vogue 1316


With a habit of saving every fabric scrap and a sewing room that is bursting at the seams (haha, pun intended), it was time for me to take action. Ok, this project did require the acquisition of some new fabric and a pattern, but Spotlight were having a sale and patterns don't take up much room and I think overall I saved a few square centimeters of space. Anyway, I got a new dress so that's always a positive!

Here's what I started with:

- a pair of track pants in charcoal knit
- a long, thin strip of chevron print upholstery fabric from Remida (creative reuse centre)
- leftover scraps from my polka dot Jamie jeans
- some pale grey ponte knit from Spotlight
- some brown lining fabric that I bought for another project and didn't use (not pictured).


And, of course, the pattern - Vogue 1316

Source
I really liked the grey print, so wanted that to feature centre front and centre back. I attacked Isobel (my dressform) with pins and did some experimenting until I had a combination I was happy with!


I had to fiddle with the chevron print as the pattern was off centre. I sewed two lengths together to achieve the pattern placement I wanted before cutting my centre back and front pieces. There were a LOT of pattern pieces in this dress, so I tried to stay organised and not lose any. 


The instructions have you piecing together all the little front bodice pieces, which have lovely shaping built in to them, then the skirt front. It was so exciting to see it all come together and I just couldn't bear to stop sewing until I'd reached a point where I could hold it up in front of the mirror and prance about a bit. I love the front of this dress.


 Oh yeah, and I added pockets. I used the pictures and explanation by Carolyn and did exactly the same. It was actually Carolyn's beautiful version of this pattern, made from old corduroy jeans, that inspired me to make it in the first place. The pockets were a bit fiddly and there are a few wrinkles behind them, but I'm very happy I added them to the dress.


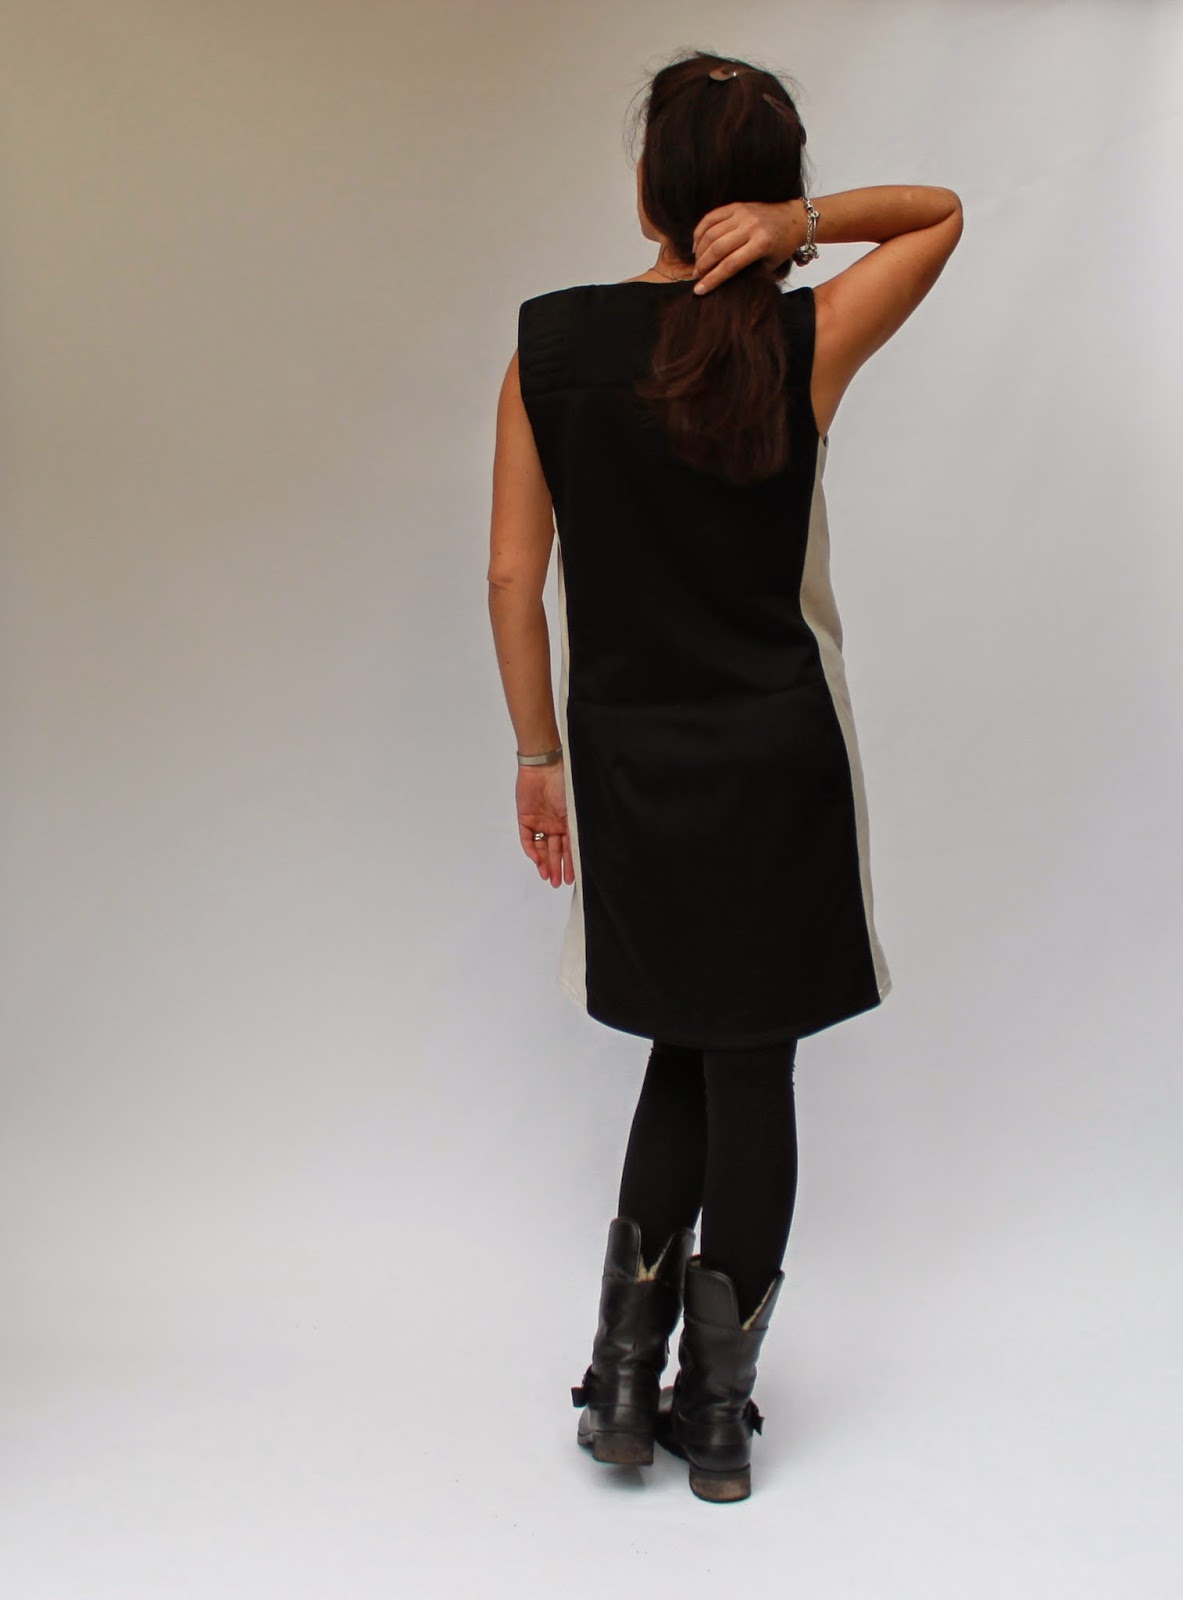
As I mentioned, I wanted the grey print at the back, which was not how the colours were arranged in the pattern. According the the pattern, I should have used the grey polka dot for the centre back. Looking at the dress now, I think the polka dot would have been preferable, but a) I didn't have enough and b) it is really not enough of an issue to worry about. It does go to show how well thought out the use and placement of contrasting fabrics is in this pattern though. I used an invisible zip at the back instead of a normal zip.


I made this dress in a size 12, which is one size down from that indicated by my measurements on the Vogue pattern. The fit is snug, but perfect. No tight spots and the wrinkles on the sides are from the pockets, not fit issues.


As I mentioned, it was a joy to see this dress come together. My main struggle was with the lining. It didn't want to sit where it should, out of sight, even though I tried to understitch and press it into submission. In the end, I tacked it down here and there with hand stitches, kept invisible by placing them in the seamlines.


 So there we are. A dress I love made from some old pants and a few scraps. Fan-bloomin-tastic!

PS. I have entered this dress in the Repurpose, Reuse, Refashion challenge with Sew Amy Sew. Check out the Flickr group for some great refashioning ideas.

Monday 21 July 2014

My Fabulous Hat!

Gaya Island, Sabah

I was recently inspired by the hat-making adventures of Savage Coco (here and here) to embark on my own foray into millinering (is that a word?). And what better occasion for a new hat than an impending holiday to Borneo?


Upon consultation with Coco, I was informed that I should use Vogue 7600 in 'fat-headed diva' size. I chose view B, for maximum sun coverage.


 After pondering my stash at length, I decided upon this brown lace for the hat. I had bought it as a $2 remnant from Textile Traders, so nothing lost if I didn't like it. The brim is made from a double layer of my thickest interfacing, which I heat-fused together. I sewed the lace directly to the interfacing brim so the white showed through the lace. The crown is lined with white cotton fabric to match the white of the interfacing. The join of the crown and brim is neatened with a wide ribbon, which doubles as an adjustable elastic casing.


The hat was straightforward and enjoyable to make, although the rows of stitching around the brim (1cm apart) took a lot longer than expected. The interfaced brim holds well when folded up around the outer edge as shown, but did tend to droop a bit with wear (and water - explained later), requiring adjustment. I would probably add a third layer of interfacing next time. The hat also folded neatly into quarters for storing in a bag without damage, which was very handy for travel.


The verdict: I love this hat. I really like the uniqueness of the lace and the brim provides wonderful sun coverage. My sons, however, were less than complimentary about it. To cause them maximum embarrassment (isn't that what mums are for?), I began referring to it as 'my fabulous hat' and made sure I strutted about in it at every opportunity. I was doing just this on our first day in Kota Kinabalu, when the brim drooped and I walked headlong into a small and dainty local lady. LJ, aged 11, practically wet his pants at this and brought it up every half hour for the rest of the holiday for renewed hilarity.

Shortly after the collision incident - Kota Kinabalu waterfront markets
A few days after that we headed up Mount Kinabalu for the day. Unfortunately it rained, but my fabulous hat provided splendid shelter for the five of us (my mum came on holiday too). Eventually though, the torrential downpour proved even too much for the fabulous hat. All were downcast at the hat's demise, except my mum who's $2 plastic bag raincoat kept her drier than any of our hi-tech raingear!


I'm happy to report that the hat is now restored to its former glory after a quick dry on the clothesline. I wonder what adventures I will have in it next!

LinkWithin

Related Posts Plugin for WordPress, Blogger...