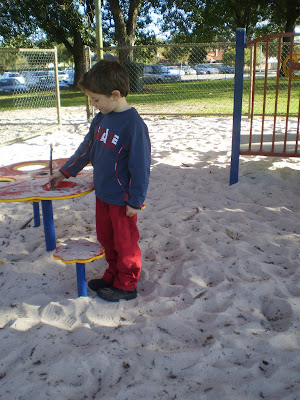
I found a gorgeous, soft, warm, man's red shirt in the op shop a while back and bought it with this project in mind. The process was based on my previous boy's pants refashion tutorial and this 'Saltwater Kids' tutorial for boy's shorts.
They turned out really well and Mr. 5 loves them. Here's how you can make your own:
Start with a man's shirt with front pockets laid out flat as shown.
Take your 'pants back' pattern piece and place it on the shirt so the shirt pocket is in the place you would like the pants pocket to be. I placed the top of the pattern against the shirt yoke and centred the pocket between the side and crotch seam of the pants. The bottom third (approx) of the pocket was below the level of the crotch. This placing turned out well in the finished item. I placed a magazine inside the shirt so I could easily pin only the front layer of shirt fabric. Don't worry if the bottom of the pants finishes below the bottom of the shirt, we'll come to that in a minute.
Repeat the previous step for the other pants back, then use the back of the shirt folded in half to cut out the pants front. You will be left with two side seam pieces of shirt like this (sorry about the flash reflecting on the glass table):
You will use these to add the extra length to the pants. If these are not wide enough, you can use fabric from the shirt sleeves. Place the front and back pattern pieces on to the scrap fabric as shown. Cut out and trim to approximate size (you can be fussy here and match up the seams front and back, but I didn't think of that until later :).
Place the extra length pieces against your main pattern pieces and pin. I used the bottom hem of the shirt as additional seam detailing on the front of the pants.
And then I used the other piece sideways to give a different effect with a vertical seam at the bottom of the back.
Stitch the leg extension pieces in place. I used a double seam (like jeans) to match with the visible shirt seams. The pants front is on the left and the back on the right. The glass of wine helped the whole process a lot too.
Now just make up the pants - very easy with just four pieces. I always do mine the same way, starting by sewing front to front and back to back (right sides together of course) along the curved crotch seam. I finished the outside crotch seam with a double row of stitching, to make them look more like cargo pants (see in photos of finished pants).
Then open out and sew one long seam all the way along the inside leg, making sure to match the front and back crotch seams before sewing.
The sew up the sides. Fold over the top to make the elastic casing. I like to put a piece of folded ribbon in the back for ease of dressing (although my son quite often wears his pants backwards and doesn't give a hoot if I tell him). I also like to do a second row of stitching near the top of the casing to finish it off nicely. The just trim and hem the lower cuffs.
I covered up the old shirt logo with my own label and they were finished. I love how the shirt pockets give a professional finish to these.
Back
Front
And my little rocker loved them. 'Thanks Mum, my favourwite colour is wed'. I'll miss that baby voice when it finally goes.
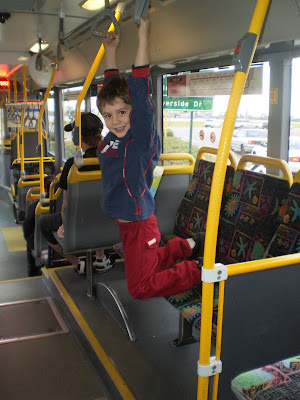
Here he is being cheeky on the bus, but he was so cute I let him swing there for a while.
I'm sharing this with:


2 comments:
terrific - my boy is already 8, tall and skinny, I'm not sure I'd be able to find a shirt big / long enough, but I'll certainly look!
irisgp17@aol.com
Great idea! Thanks for sharing this with us:)
Post a Comment