

I always struggle to find presents for my Dad, but this year I did have an idea. My sister and I had bought him an ipad for Christmas, so I decided to make him a bag to carry it around in when he went on holiday or to the cafe.
I made the bag from an old diving wetsuit made from very thick neoprene. It is nicely padded, but was a nightmare to sew. I am not happy with the seam finishes but they were the best I could do after several attempts. I decided to put together a tutorial for this as I did work out some tips for sewing with neoprene. So here goes.
I folded the top of the wetsuit with side seams together so I could avoid the zips and joins as much as possible. I then drew around the ipad to get the right size and shape for the bag.

This is what it looked like opened out with holdes cut for the handles.

I used this striped fabric to cover up the wetsuit logo.

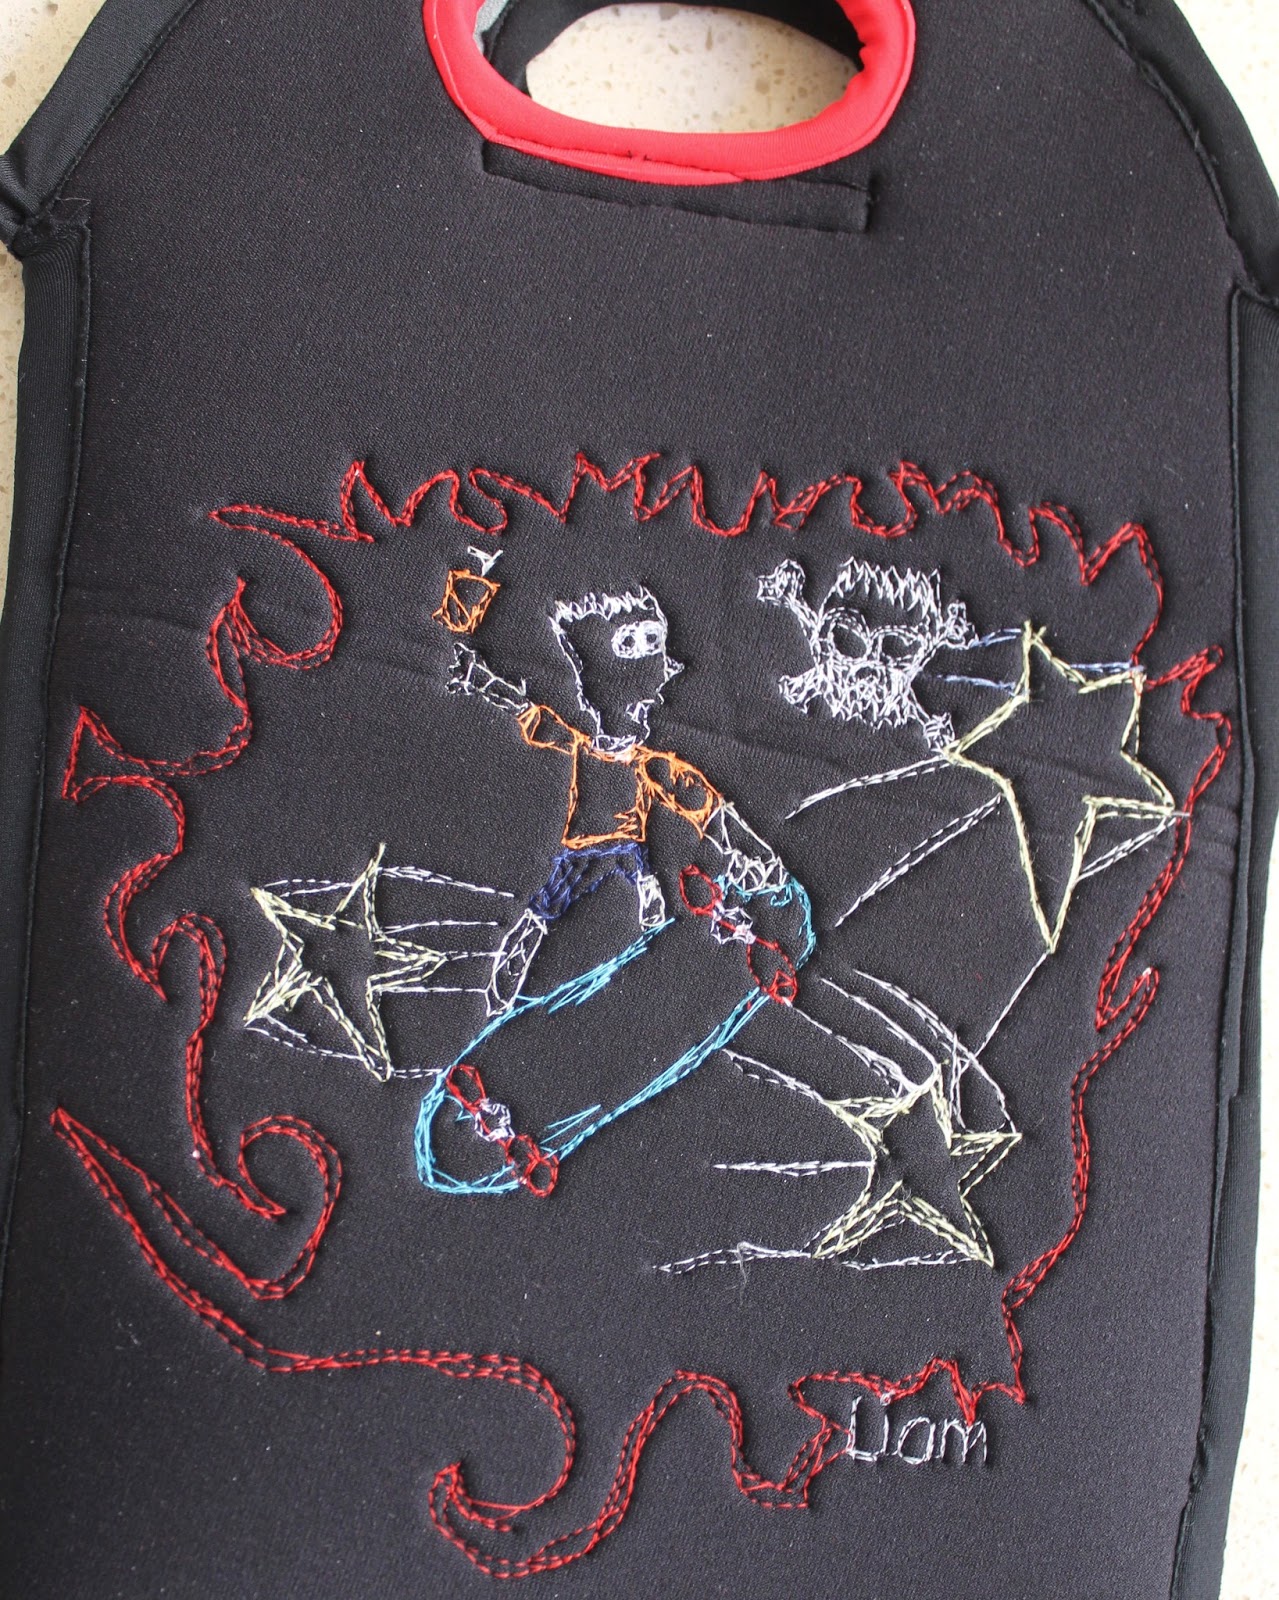
I traced the main lines of each drawing on to baking paper (or use tissue paper) placed the paper on to the neoprene fabric and stitched along the lines using appropriately coloured thread.
Needle and thread: I found the best needle to use was a very thin (70-75) ball point needle for knit fabric. All the other needles I tried caused skipped stitches. Poor quality thread also resulted in some skipped stitches, but sometimes you just have to use what you have in the right colour.


Once the pictures were done on both sides, I used a strip of lycra, 2.5cm wide. to bind the inside of the handles. After several attempts, I found the best result was obtained by stretching the lycra quite taut as it was stitched in place. I also sewed a strip of velcro below each handle to hold the ipad inside.
Next it was time to sew up the sides. I used lycra strips again. This time, I sewed one edge of the lycra approximately 1cm from the edge of the neoprene (on the right side) for the full length of each side from a point level with each handle.

The bag was then folded right sides together and the lycra strip was sewn together close to the neoprene. I used the zipper foot to get as close to the edge as possible.

The sides were sewn this way because the neoprene was too thick to fit two layers under the presser foot. This method avoids sewing the neoprene, only the lycra is sewn. Below, each vertical side seam is lycra sewn to neoprene and the centre seam is lycra to lycra.

Lastly, the top edge of the bag was bound all around with lycra, stretching as it was sewn in place.

It's not perfect, but it has character and Dad loved it (once I'd told him what it was)!


I have done two other projects involving free motion sewing, a cushion cover and some boys pyjamas.

2 comments:
This is lovely and how sweet that both generations chipped in!
I can just imagine your dad carrying his bag with pride!!
kate spade outlet online
chaussures louboutin
pandora bracelet
true religion jeans outlet
louboutin pas cher
michael kors outlet clearance
pandora charms
yeezy boost 350
polo ralph lauren outlet
michael kors handbags outlet
2017228huazhen
Post a Comment