Showing posts with label Named patterns. Show all posts

Tuesday 8 August 2017

Go big and bold or go home!


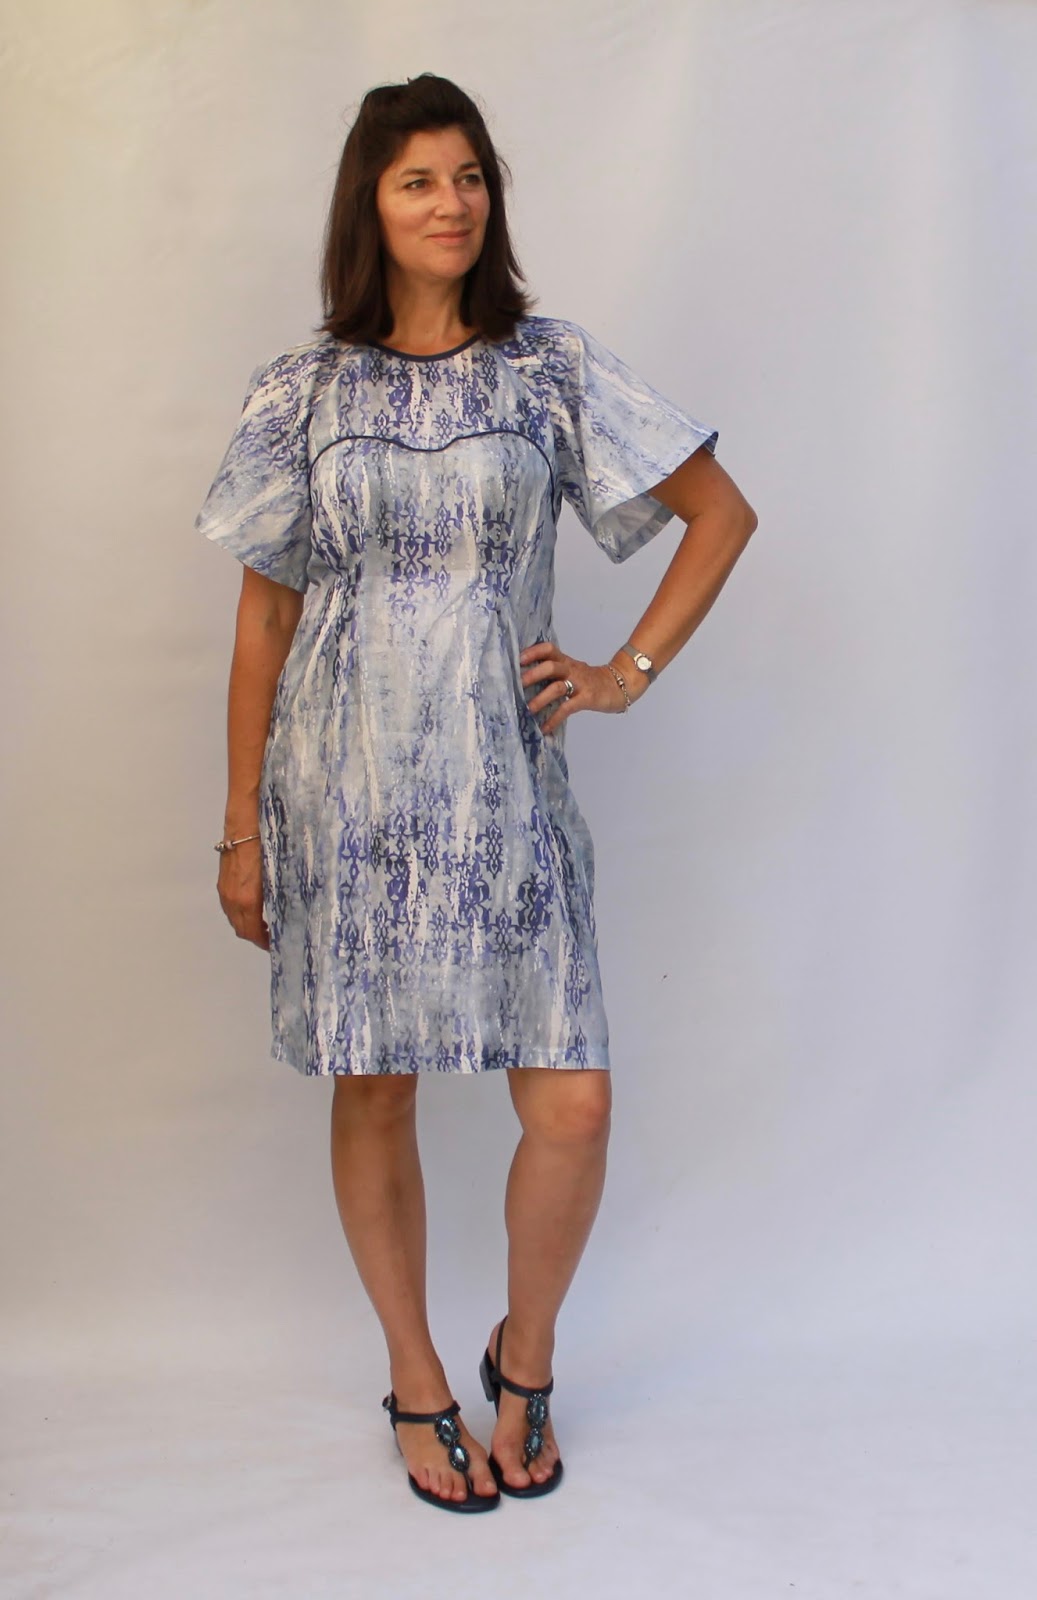
I have finally made up the third piece of fabric that I had custom printed by Contrado UK. This print is from a painting by my Mum of a Western Australian Eucalyptus species called 'Flat Topped Yate'.

'Flat-Topped Yate' by Chris Oxberry

The pattern is the Named Inari Tee Dress, which I've made many times before. I chose Contrado's cotton-linen 228gsm fabric for this dress and ordered a print size of 140x100cm. This worked out well to accommodate the sewing pattern with minimal waste. The print quality is beautiful and the colours were reproduced very accurately. The fabric is a nice quality and the perfect weight for this dress.


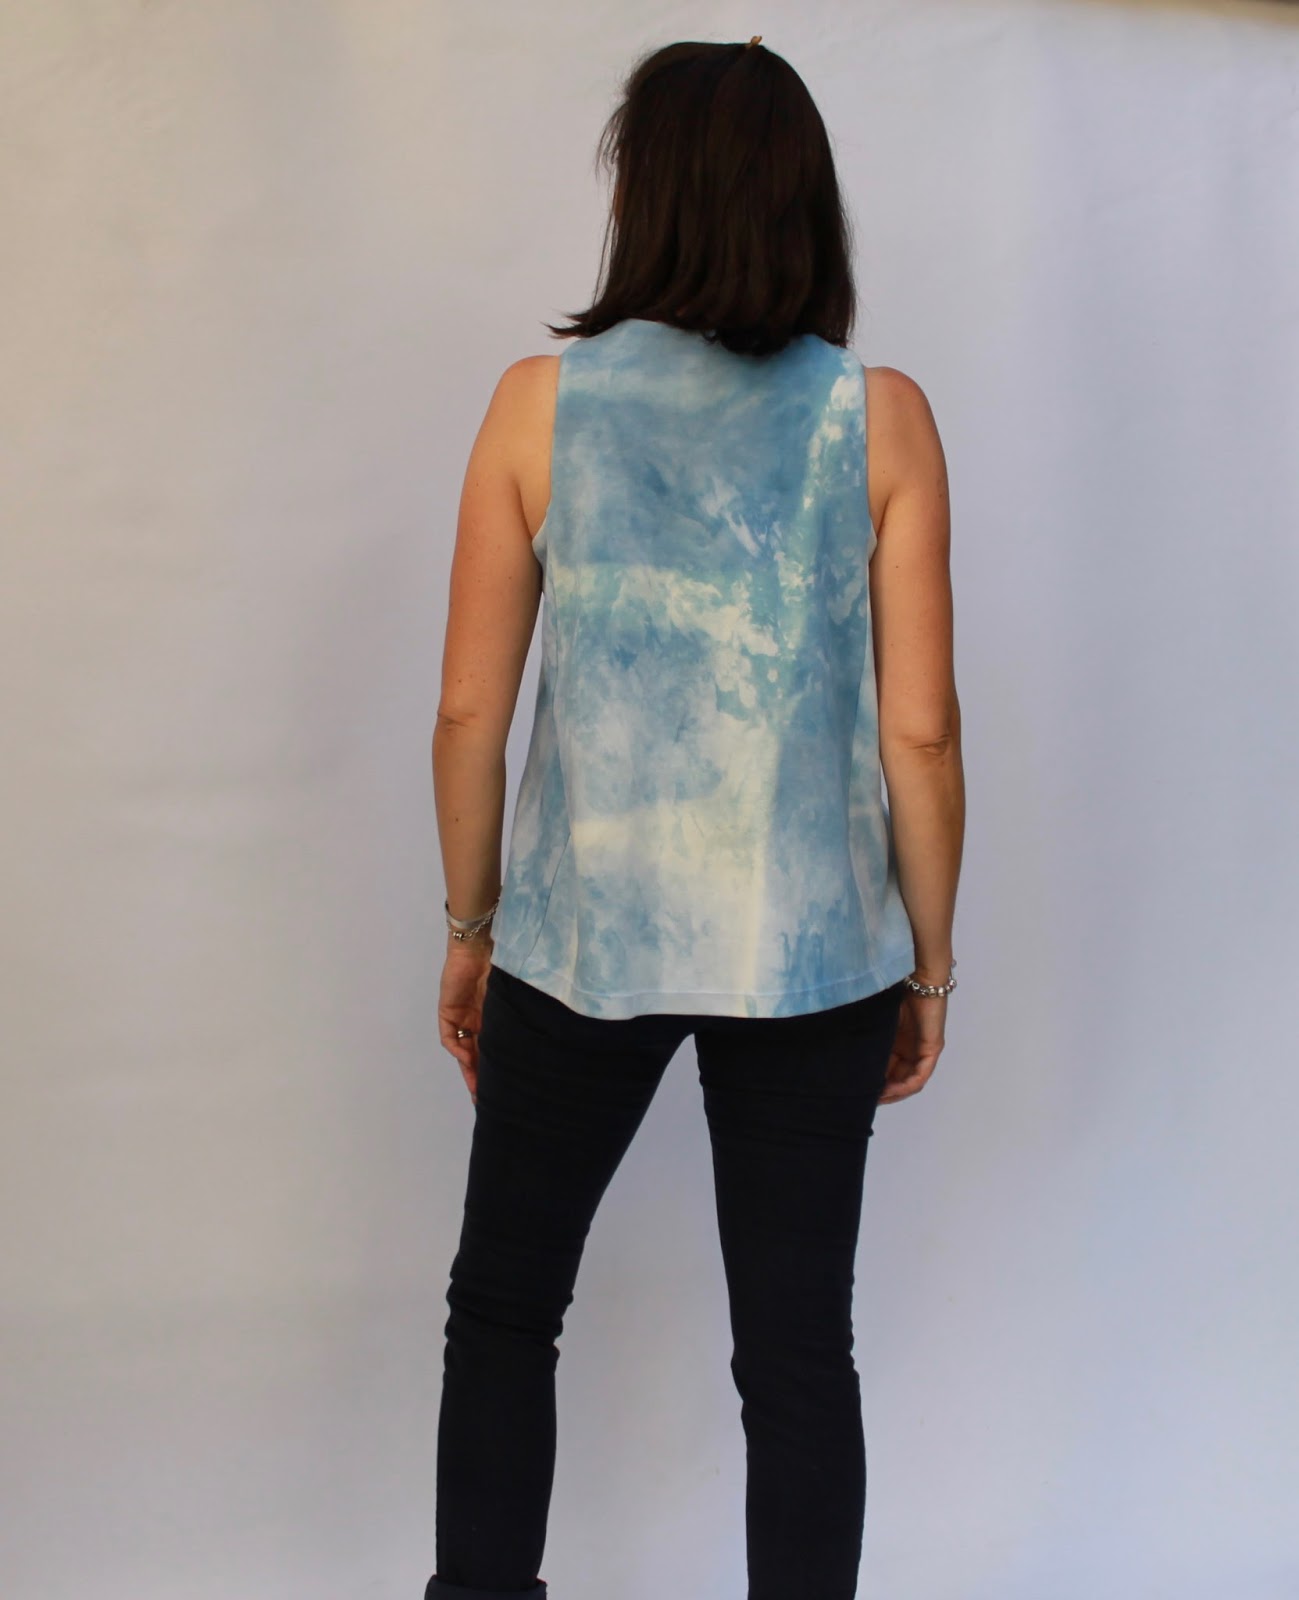
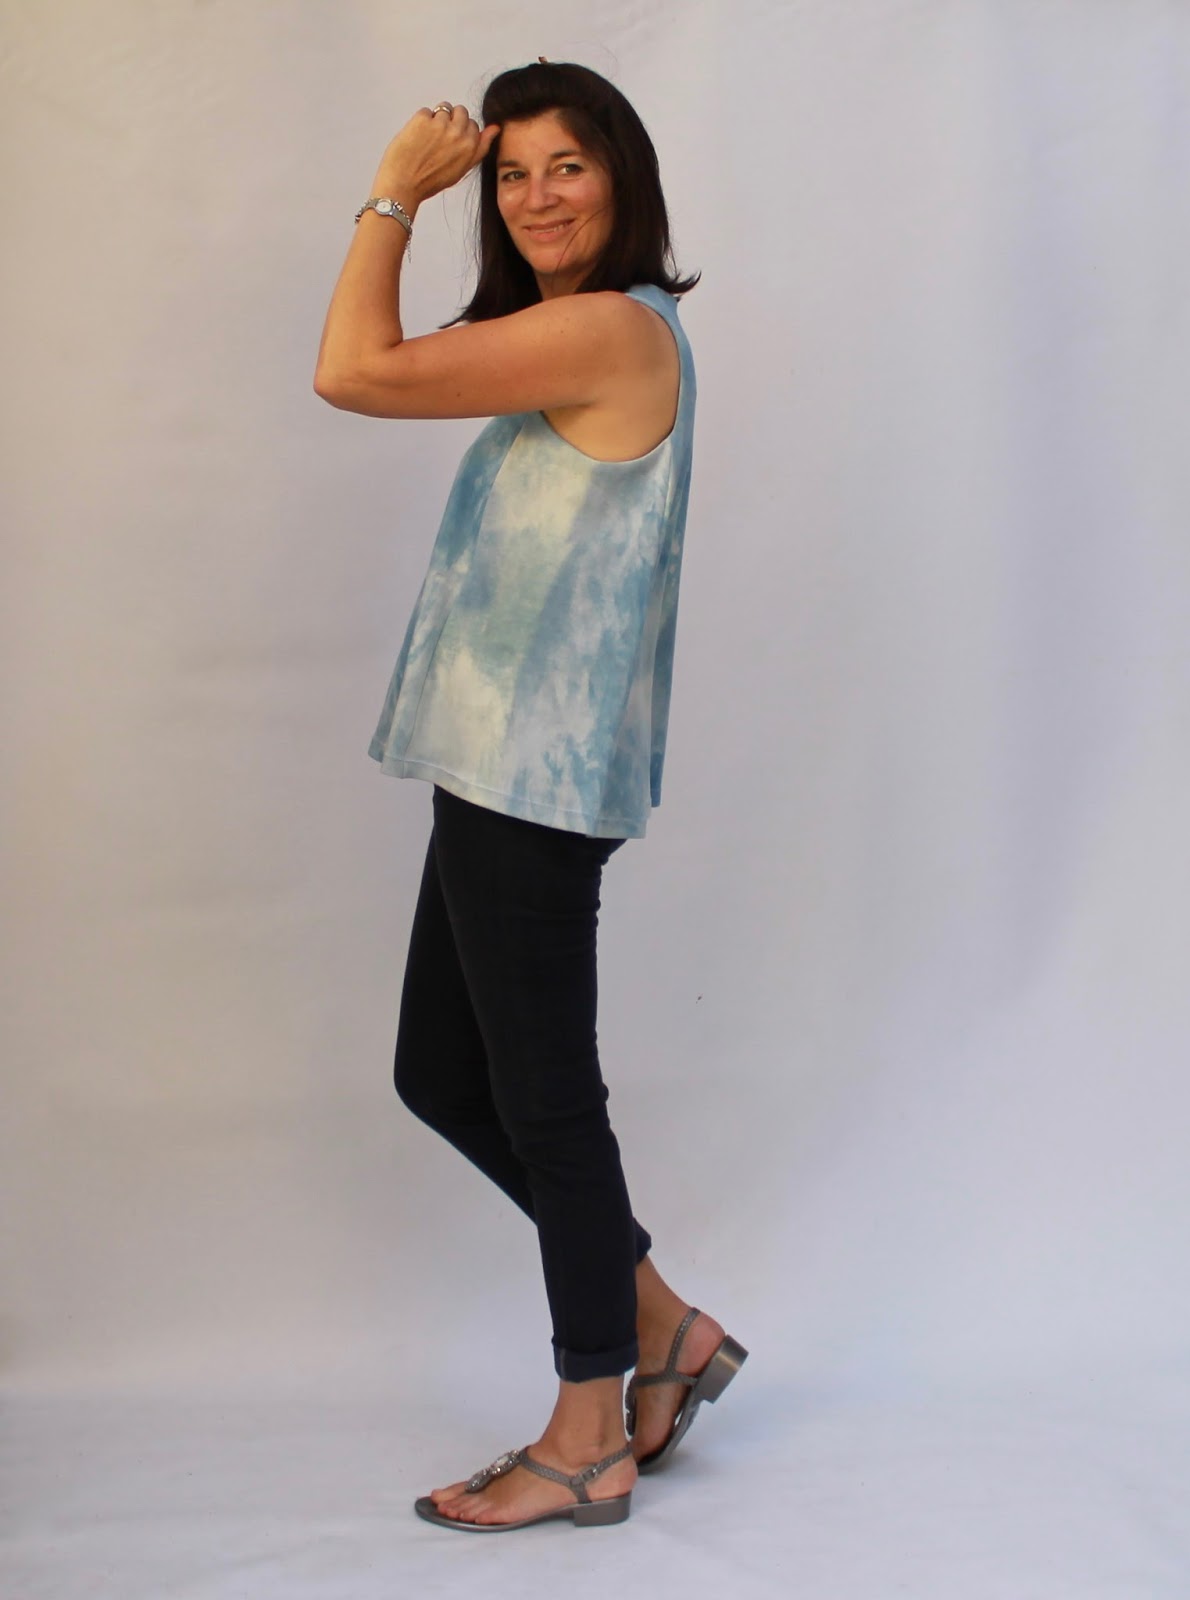
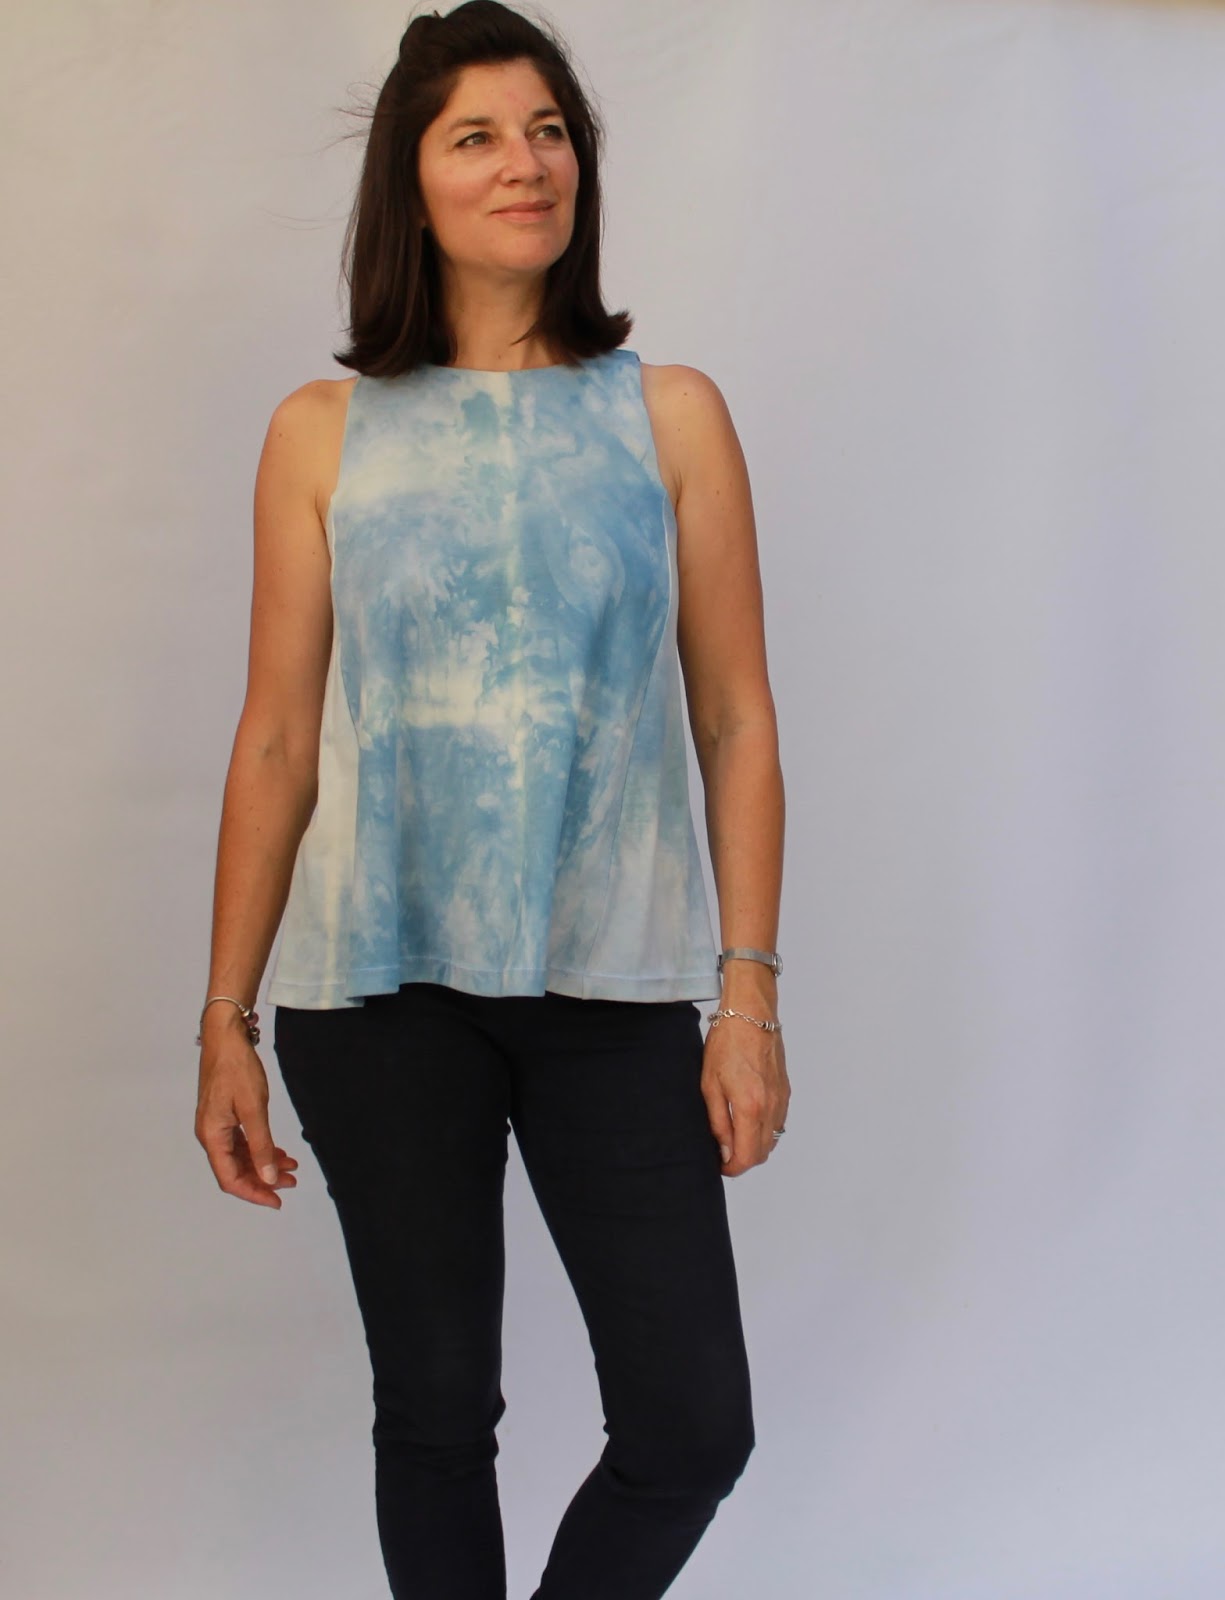
I had chosen not to mirror or repeat the print this time, so it's huge! I spent quite some time deciding which side should be the front and placing my pattern very carefully to avoid a large anus in the back!


I think I just about got away with it!


Once that was decided upon, everything went very smoothly. I have made this enough times that I now have two sleeve pieces traced for this pattern: the original one which is perfect for knit fabrics; and a wider one for wovens to allow more movement. I left off the sleeve cuffs as I decided it looked too busy and also made the front a bit longer in this version of the dress. The neckline is finished with bias binding.


I love that the dress is different from every angle and that on this side the pattern almost matches. I'm not quite sure how that happened.


I am really thrilled with this dress. The colours and print worked out just as I imagined and I couldn't be happier with the quality and service from Contrado UK. I would love to try out some of the other fabrics from their huge range. I'm thinking bomber jacket....

I have so enjoyed the process of fabric design. It has pushed me to be a bit more creative, while still being completely achievable using the fabric design website. I can recommend it!


It is so lovely to have a dress that is completely unique and that reminds my of my Mum every time I wear it.


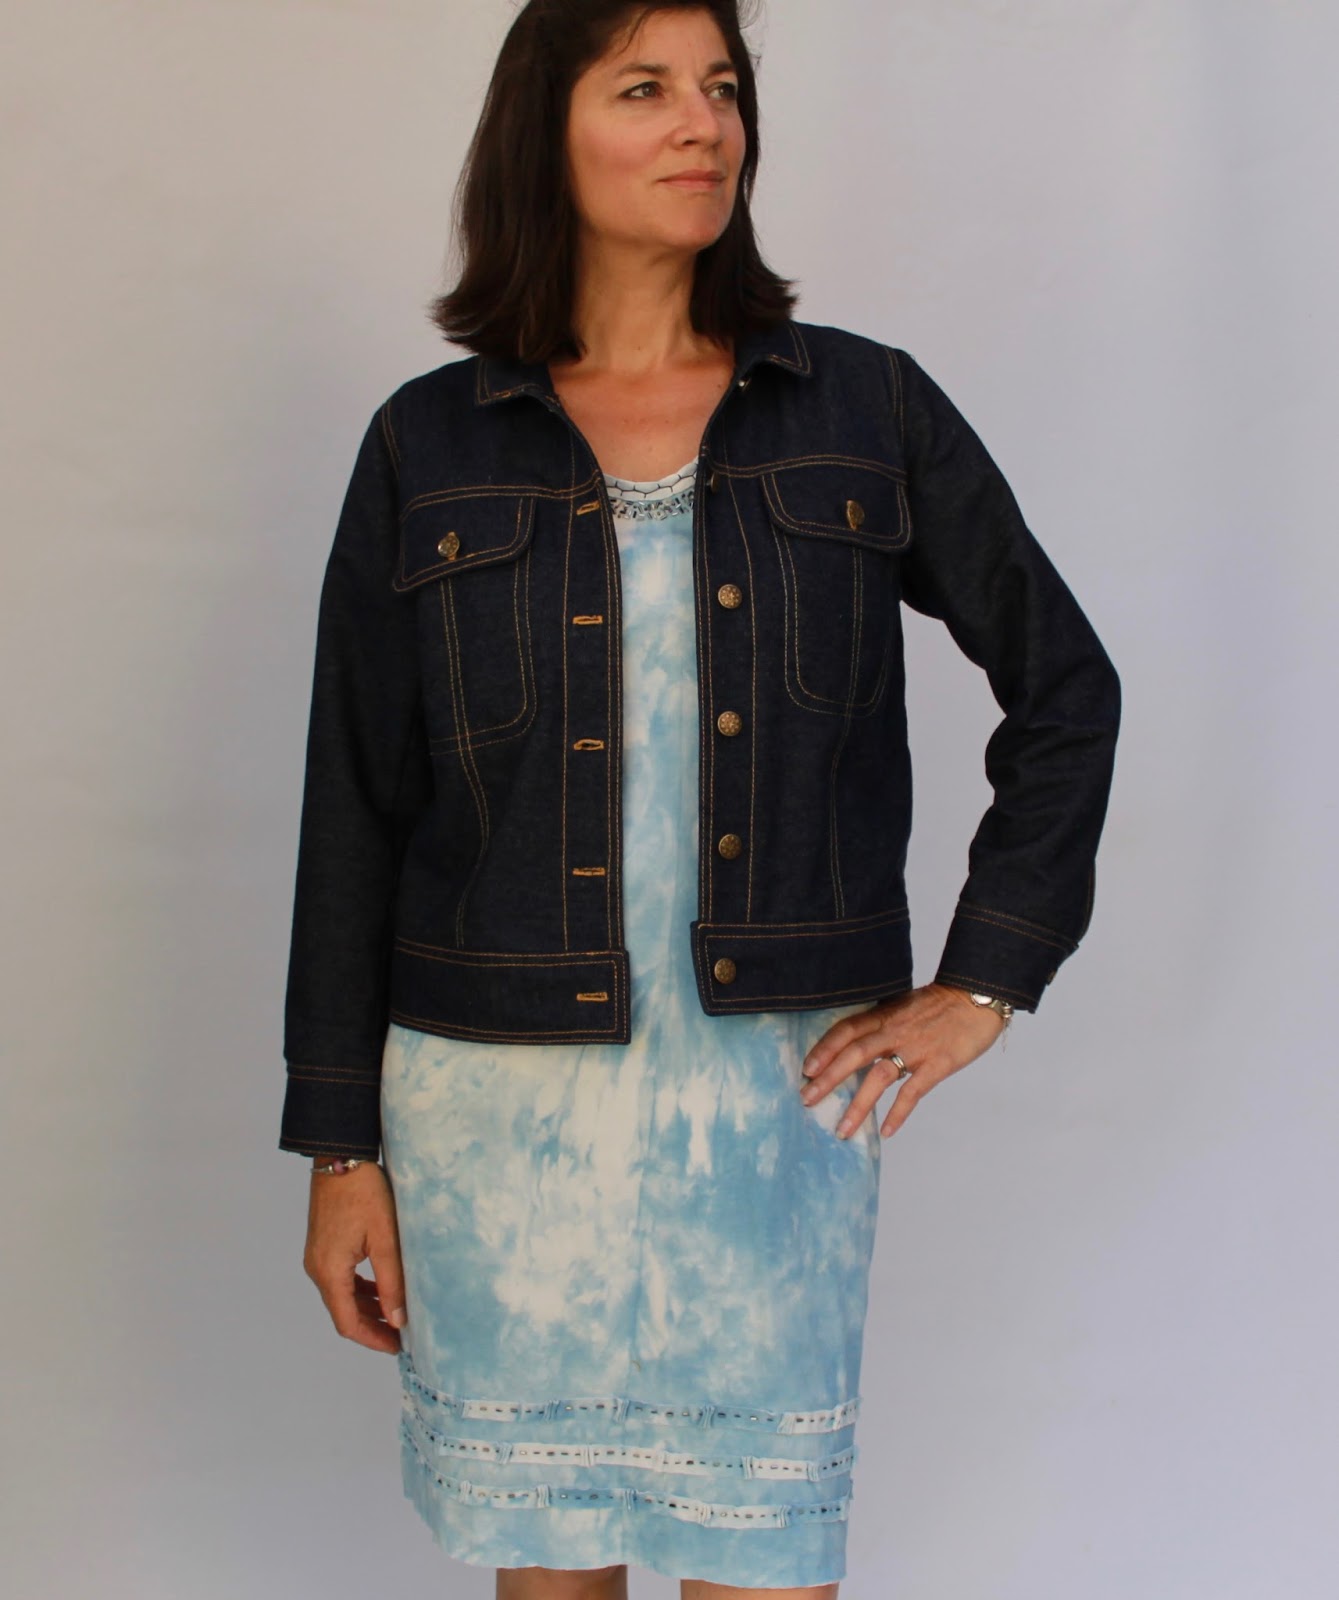
My other projects with Contrado custom-printed fabric were a bathing suit and a completely different dress. The post I wrote about the dress also has some info on how I designed the fabric and kept costs to a minimum.

Thursday 6 April 2017

Minttu Swing top - Named SS17 Playground Collection


The Minttu Swing top was the final pattern I tested from the new Named collection. This is a flattering design with a high neckline, cut-away armholes, side panels and a swing shape. It has a one-piece facing for a neat finish at the neckline and armholes.


I used a 100% cotton knit that I had dyed with indigo and that was left over from my Alabama Chanin dress, one of my favourite creations.


This is a quick and easy top to sew and I highly recommend it. It is very easy to wear and the style goes with many different 'bottom-half' garments. In these photos I'm wearing some StyleArc Elle pants. Yesterday I wore it with some loose Hudson Pants modified to be made with a woven fabric and I think it looked even better. You'll have to believe me, I've done my photo session!


I rarely wear anything with cut-away armholes, but actually I think they are more flattering to the arms than a simple sleeveless design. The attention is drawn away from the upper arms somehow. This is a definite win for keeping cool and looking...well, hot! OK, at least a few degrees warmer than usual.


The only issue with appearing to have amazing arms, is that normal bra straps show. I didn't have any racer-style bras, so quickly whizzed up a couple of Noelle bras - the free underwear pattern by Madalynne. I did an FBA on the Noelle pattern as it's really for smaller busted women. I can recommend the bra and knickers.


I am thrilled with this top and with my other Playground Collection items, the Maisa denim jacket and the Ansa dress and top. I think this is my favourite Named collection so far.


Saturday 11 March 2017

Ansa Butterfly Sleeve Dress - Named SS17 Playground Collection


The Ansa Butterfly Sleeve Dress was the second pattern I tested from the new Playground Collection by Named. This is a lovely design with and interesting front yoke and pleats to create soft shaping at the waist.

Ansa Butterfly Sleeve Dress - Named
The pattern also includes a top with the same yoke and sleeve design and a loose, flowing shape.


I made the dress from some very lightweight cotton that I think came from Potter Textiles. The dress isn't lined so this fabric is possibly the tiniest bit lightweight for the pattern. However, with the loose sleeves and gently fitted design, it's very comfortable and cool to wear in our hot weather. When making this I used 126cm of 140cm wide fabric (pattern states 135cm of 150cm wide).


I used navy bias binding to highlight the shaped seam above the bust and the neckline. 


The back closes with an invisible zip and fits really well thanks to the long darts.


The Ansa top has no zip and just pulls on over the head.


I chose white cotton Broderie Anglaise fabric and underlined all but the sleeves with white voile. I used white piping at the front and back yoke seams. For this I used 120cm of 140cm wide fabric (pattern states 135cm of 150cm wide).


I really like this top and have worn it quite a few times. It is perfect for looking a bit dressed up, but still casual and summery. I would like to make this from drapier fabric to see how it looks.


 I made no changes to the original patterns for the dress and top, other than adding piping to the back yoke seam of the top. I love both these patterns and they fit perfectly into my casual summer lifestyle.


Thursday 2 March 2017

Named Maisa Denim Jacket - the Playground Collection


Look at this. A denim jacket! I absolutely love this jacket and it has been the most exciting thing I've made for some time. It was so much fun planning, sewing and watching it come together.


The Maisa Denim Jacket is from the SS17 collection by Named, which was released yesterday. This collection has some lovely pieces and I will be blogging, in the next few days, about two other patterns from this collection that I also tested.


The sample jacket from the collection was made from recycled jeans, which I considered using for my jacket. However, I had some remnant pieces of this dark denim from Remida and I decided to use those in the end. It is a medium-light weight denim with no stretch and was a perfect choice for a comfortable jacket.


I have made many Named patterns before and completely trust their quality and sizing, so I decided to do some Sashiko stitching on the back panel before sewing up the jacket. I found a tutorial online and got to it.


I drew the grid on my fabric with a chalk wheel pen and sewed two stitches per square for durability, following the plan in the tutorial. It was very satisfying watching the pattern emerge. I was sewing this around Christmas during the summer school holidays, so took it with me to a waterfront cafe and stitched while the children played in the water.


Once the Sashiko was finished I sewed the rest of the jacket. I lined the back panel with some cotton chambray to hide the knots from the Sashiko. The instructions are great for this pattern and produce a very neat inside for this unlined jacket.


I used rust-coloured thread for the topstitching and added little red bar tacks at the opening of the sleeve vents. The buttons are jeans buttons from Spotlight that are hammered into place.


This jacket is completely comfortable with no pulling at the shoulders when I stretch forward (a problem I have with some jackets). I have already worn it many times since I made it as it goes with everything. The proportions all seem spot on to me and I just love everything about it.


In the spirit of hand sewing, I'm wearing the jacket with my indigo dyed Alabama Chanin style StyleArc Tammy dress.

Here are a few more pictures:


Thank you to Named for the opportunity to test this pattern. I love everything about it and, as always, their pattern testing procedure was professional and lots of fun.

Saturday 31 December 2016

Woven Named Inari dress in black and white


This was a quick little project using one of my favourite patterns - the Named Inari dress. I have made this previously in knit fabric, but steered away from wovens after my first woven muslin was too tight across the shoulders and sleeves. Then, I saw that Carolyn had recently made a woven Inari with a sleeve alteration to give a bit more room. I did the same and voila, it's perfect. Thanks for the tip Carolyn!


This lovely black and white cotton fabric is from Textile Traders. I spent some time in front of the mirror working out where to place the pattern for the best effect. I think it worked out OK.


The cotton was very lightweight, so I underlined it with white cotton voile to give the dress a bit more substance and allow it to hang better. I originally had the white lining extending to the hem, but I didn't like being able to see the white on the lower back hem, so I hemmed the lining above the side split.


My only other alteration was to lower the neckline.


I just love this easy, stylish and comfortable pattern and it's already been worn many times. I'm actually working on another knit Inari in blue and white stripes as I write. I wonder if anyone will notice if I wear the same pattern all summer!

Thursday 20 October 2016

Jumpers - Burdastyle 02/2016 #121, Named Talvikki and Vogue 8962


As we approached the end of winter in Perth, I was all ready to begin my summer sewing. However, the cold weather dragged on and on through spring this year, so I decided to make just one four more jumpers to wear. I'm so pleased I did, these have been worn constantly over the last few weeks.


First up, this one from the February 2016 issue of Burdastyle magazine. This is the 'High Collar Sweatshirt', No. 121. I loved this design in the magazine and was so keen to make it, when I rediscovered it recently, that I did so despite the fact that I didn't have the collar zips. I assume the zips are there as a practical and decorative feature. Luckily, I can easily get the jumper on and off without having the zips there.

Burdastyle 02/2016 #121

I used oatmeal marle fleece fabric from Fashion Fabrics Club that has been in my fleece drawer for quite some time. It's lovely and cosy. The cord for the drawstring was saved from a boutique paper bag. I always save the cord handles from bags and knew I'd find a use for them one day!


Apart from omitting the zips, the only change I made was to lengthen the cuffs slightly. I used silver grommets for the cord openings.


I was so happy with this jumper that I immediately made another. This time I bought the collar zips and used a striped silver and blue cotton fabric I found on sale in Spotlight. 


I pattern matched the pockets and made a feature of the front panel by offsetting the stripes. The cuffs and hem band are made from navy ribbing.


I was expecting that the addition of the zips to this would enable the top to be worn with different collar variations. However, I don't really like the unzipped look. I don't know if it's the fabric, but it reminds me of the 80s and not in a good way. I don't bother to open the zips when putting this on or off either, so if I made this again it would be zipless.


One last word on the zips - if I were to put them in again, I would probably turn them over so the right side of the zip pulls showed then the collar was turned down. This is personal preference though.


I'm happy with this, but I prefer the plain fleece one.


Next we have another Named Talvikki (my first is blogged here). I love this pattern with the cool neckline darts and side splits. It is also very quick and easy to make.


This one is made from Fleece from Spotlight. I added cuffs with some pale blue piping just for a change.


This has been such a useful addition to my wardrobe. It goes with everything and I love it.


Finally, I made another Vogue 8962 tunic. My first was made with knitted fabric and looks completely different. This one was made with Spotlight fleece that I found reduced from about $25/m to $5/m. It's not my usual style, but it's lovely and soft inside.


I wanted to practise my coverstitching on this pattern as I'm on a mission to get decent coverstitching. It seems to be a skill that is very hit or miss. Coverstitching always seems to work better on thicker or more stable fabric and I had quite good results this time.


I chose orange thread to match the background of the fabric and highlighted the design lines and hems with coverstitching.


I lined the collar with turquoise fabric to match the cheeks of the faces on the fabric.


Although this fabric isn't quite me, the bold print is fun and the style of the tunic is great to wear. I've worn this a lot more than I expected.


OK, I think I've fulfilled my winter quota of sewing now and got good wear out of everything. Now it's time to bring on summer. Come on Perth!

LinkWithin

Related Posts Plugin for WordPress, Blogger...