I came across
Named Patterns a few weeks ago and was immediately enamoured with their
Jamie jeans. I have been on a long quest to find the perfect jeans pattern. I've made several pairs of Jalie jeans and a couple of pairs of modified Jalies. The Jamies looked great in the pictures, but would they deliver in real life? Would the substitution of the 'l' for an 'm' produce substantial improvement in style, fit and general fabulousness?
I looked for reviews. There were none...until suddenly
Novita appeared on my screen modelling a pair. Click, click and I'd bought the pattern within minutes!
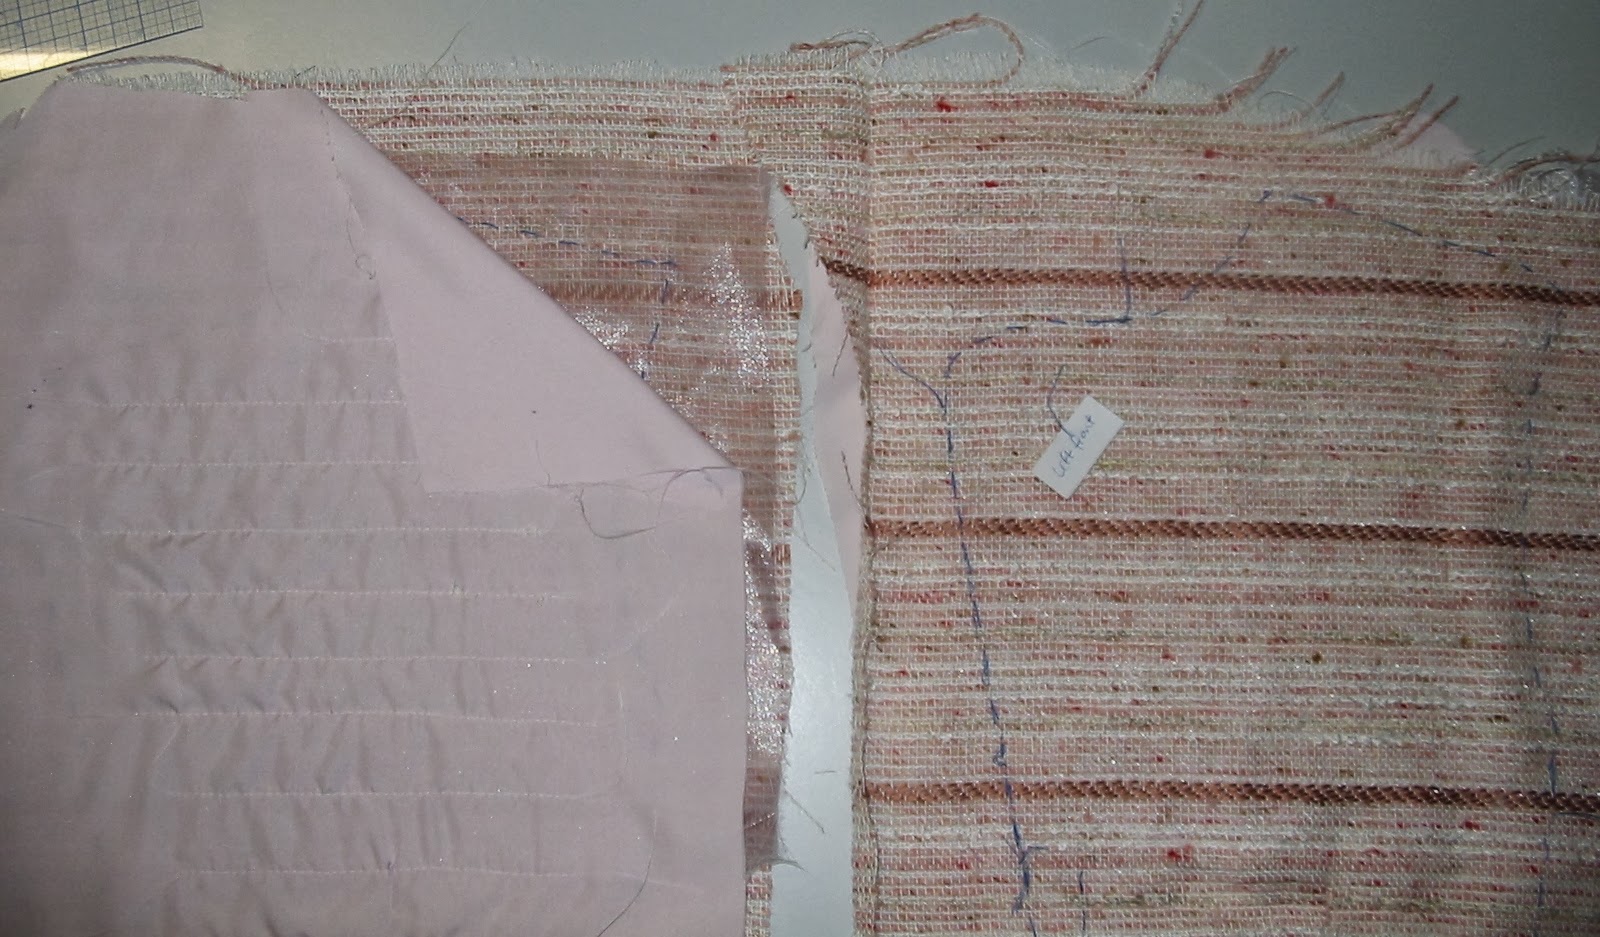
I bought size 38-40 (10-12) based on their size chart. My waist measurement was closer to 40 and my hips were 38, so I graded accordingly between sizes from waist to hip. Other changes: nil. I made them from a sturdy denim with some, but not loads of, stretch.
So did they fit?
Did they ever!
I love the detailing on these jeans - the front, top-stitched seams, the two-part back pockets, the inside out denim piece on the front pocket opening. The overall shape of these is very on trend and flattering.
The pattern took an hour or so to arrive in my inbox, while I hopped from foot to foot and alternated between refreshing my email and checking the time zones between Finland and Perth. Suddenly there it was and I wasted no time printing it (only 12 pages), taping it together (easy) and tracing it (yes, you have to trace as the pieces overlap, but I didn't mind as I was experimenting with the size between waist and hip as previously mentioned). Quick note on the printing - the pattern suggested using A4 paper, which is standard in Australia, but the very bottom of each page was missing on my printout. I'm not sure why this was as the print size was accurate, but was easy enough to piece together anyway, so not a big deal.
Then I made them. In one (very long) day!
The instructions are clear, but there are no pictures. With careful reading and concentration, I was fine, but I have made jeans several times before. Newbies may struggle with some parts. I followed the instructions completely, but next time I will change the order of assembly. The pattern has you cut the fly of one front piece slightly narrower than the other side. My advice - DON'T. The zip was then inserted after the front and back pieces were sewn together and it just didn't work well for me at all. In the end, I unpicked the zip and sewed on a scrap of fabric to make the front fly pieces even again. I was slightly less of a happy camper at this point. Then I followed my
favourite ever tutorial for fly insertion as best I could with the jeans assembled. Things were not perfect, especially with the tacked-on piece (luckily you can only see this when the zip is undone), but passable. Happy camperness was restored.
There is very little else I'd do differently next time (and there will be a next time, probably several). I will probably play around with the leg seams slightly, making the thighs a bit tighter and the calves a bit looser, just a little bit. A stretchier denim would probably produce a better fit.
So, nitpicking aside, is this the perfect jeans pattern? Well, I think these jeans are pretty damn close to perfect, especially for the first draft, so to speak. The fit, the detail and the style are all winners in my book. These have become my 'go to' jeans to be worn in preference to all others.
Sorry Jalie, I've got a new fav jeans pattern.
Jacket: Burdastyle
Blouson Jacket 04/2013 #123. To be blogged soon.
Boots: Refashioned by moi.