

And here's how I did it:
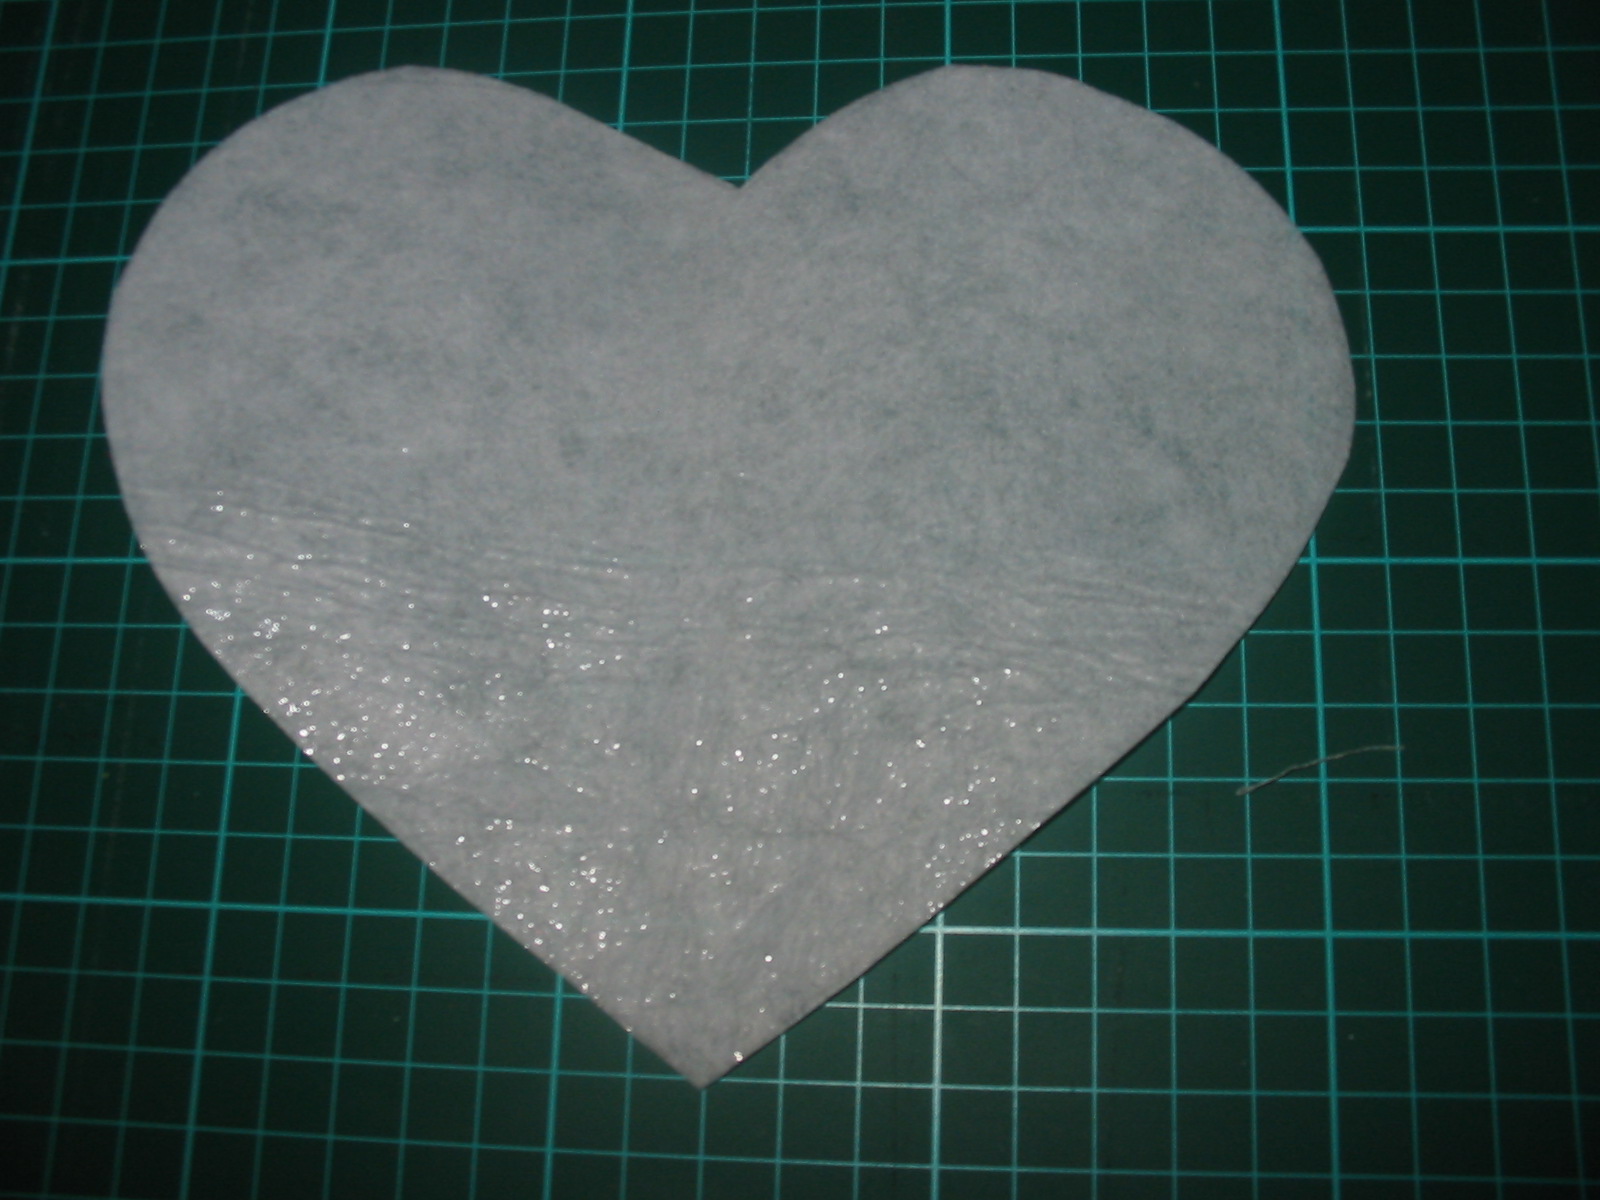
I chose two different fabrics for the heart - a pink patterned satiny fabric and a jersey knit fabric with clear sequins on it. I then chose the brown backing fabric to match one of the colours in the pink patterned fabric.
I cut 4cm strips of each pink fabric. I used the full length of the fabric and ended up needing approximately three strips in total.

I then ruffled each strip by sewing a straight line of stitching down the centre of the strip. I used my machine's longest stitch and I increased the tension so the ruffles formed automatically as the fabric was sewn (I used a walking foot but you don't need to). Love that for a time saver!

I arranged the ruffles on the heart (on the non-adhesive side) right next to each other. One by one, I then pinned them and sewed them on about 3mm from each side. I trimmed the ends a couple of cm from the heart shape.


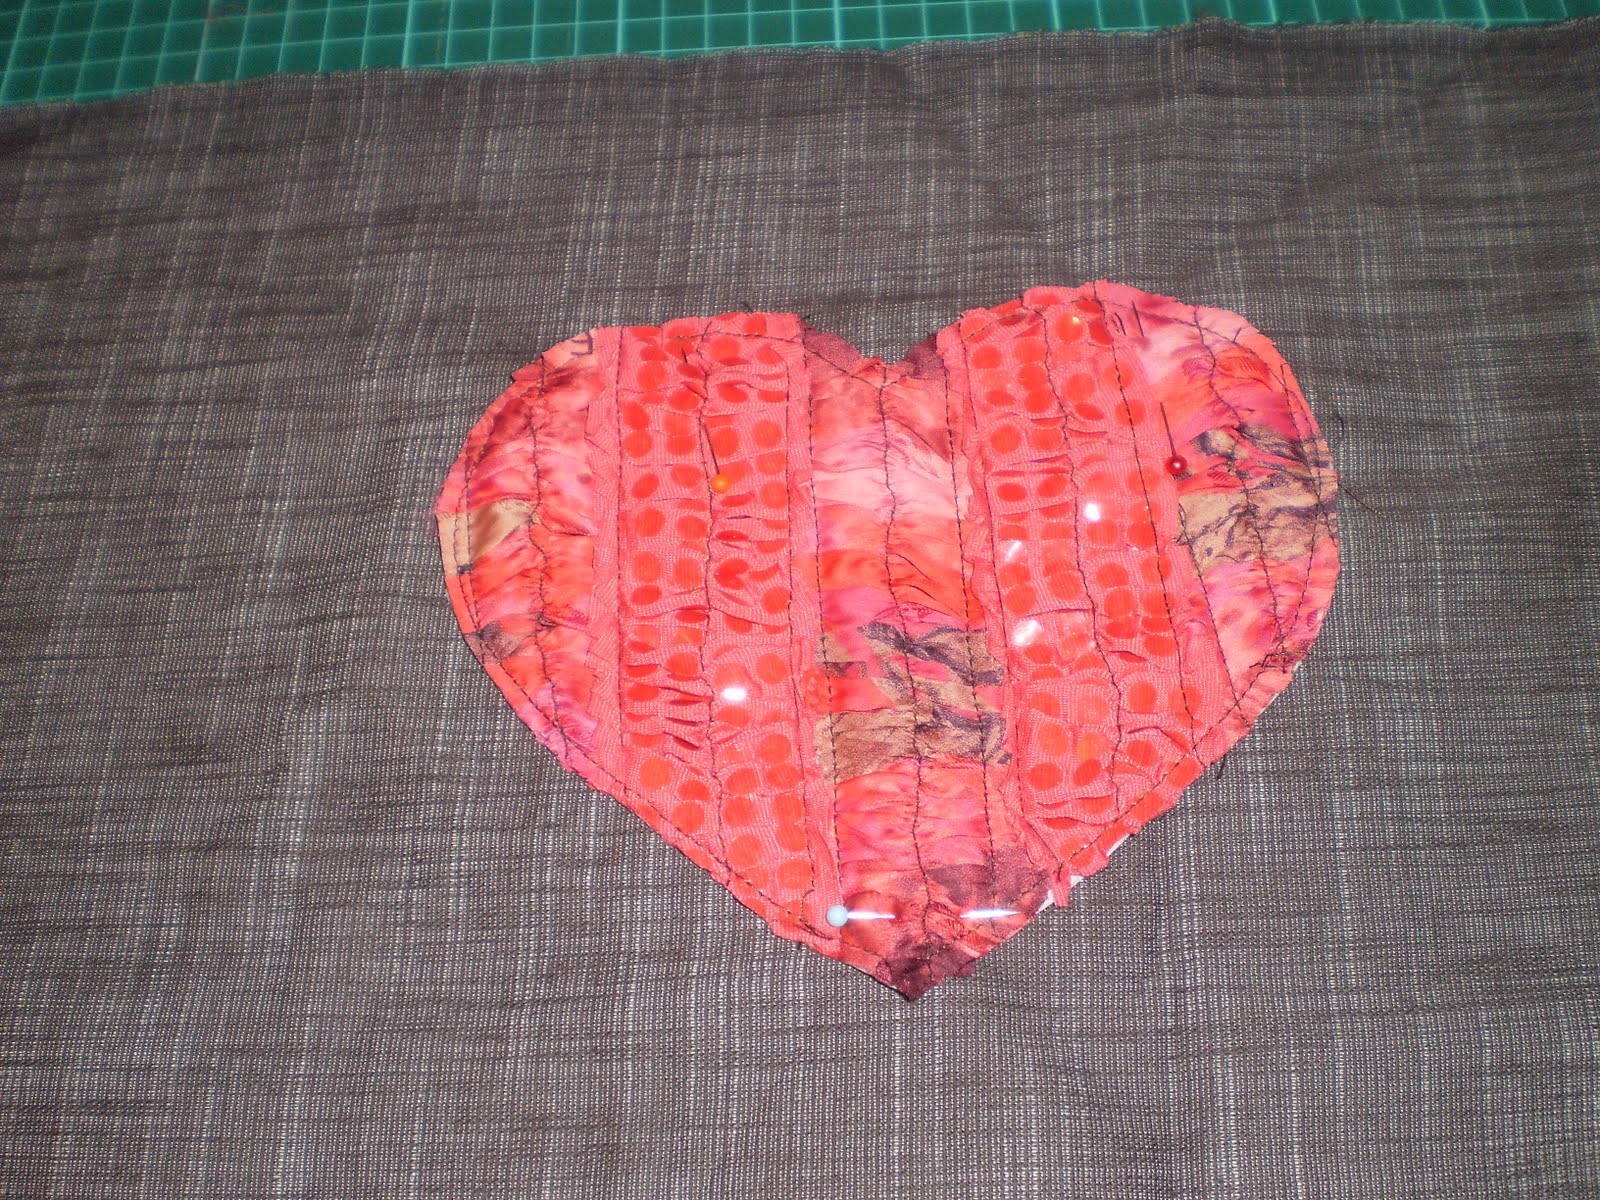
Until it looked like this:

At this point, you can remove the line of stitching in the middle of each ruffle if you like. I left it in.
Then turn the heart over and sew around it about 3mm from the edge.

Trim the ruffles flush with the edge of the interfacing heart and place it on to your backing fabric (you can make the backing fabric any size you like, just cut two pieces the same size). At this point you could iron it on to the backing fabric, but I just pinned mine because I didn't want to melt the sequins. Then sew along the outer stitching line again to attach it to the backing.
Then just place right sides of the backing together, sew around them leaving a gap to turn. Turn and stuff, then stitch up the opening (or add a zip if you prefer).

And it's done! I just had time to stitch a left-over bit of ruffle on to a blank card, brush my hair and bolt out the door to enjoy a lovely lunch with friends and a lot of compliments on my handmade gift!!

No comments:
Post a Comment